

Short answer
Mix 2 dl plain flour, 1 dl salt, 2 tbsp oil and 1 dl water. Roll out an even sheet, cut out small shapes and make hanging holes before drying. Dry at 100 degrees, start checking after about an hour and let cool completely. Paint the dry shapes and thread on string. The dough is craft material and is not to be eaten.
What you need
- 2 dl plain flour
- 1 dl salt
- 2 tbsp oil
- 1 dl water
- Bowl, rolling pin and small cookie cutters
- Drinking straw or another blunt tool for the holes
- Baking tray and baking paper
- Craft paint suited to the users, brush and string
Step by step
-
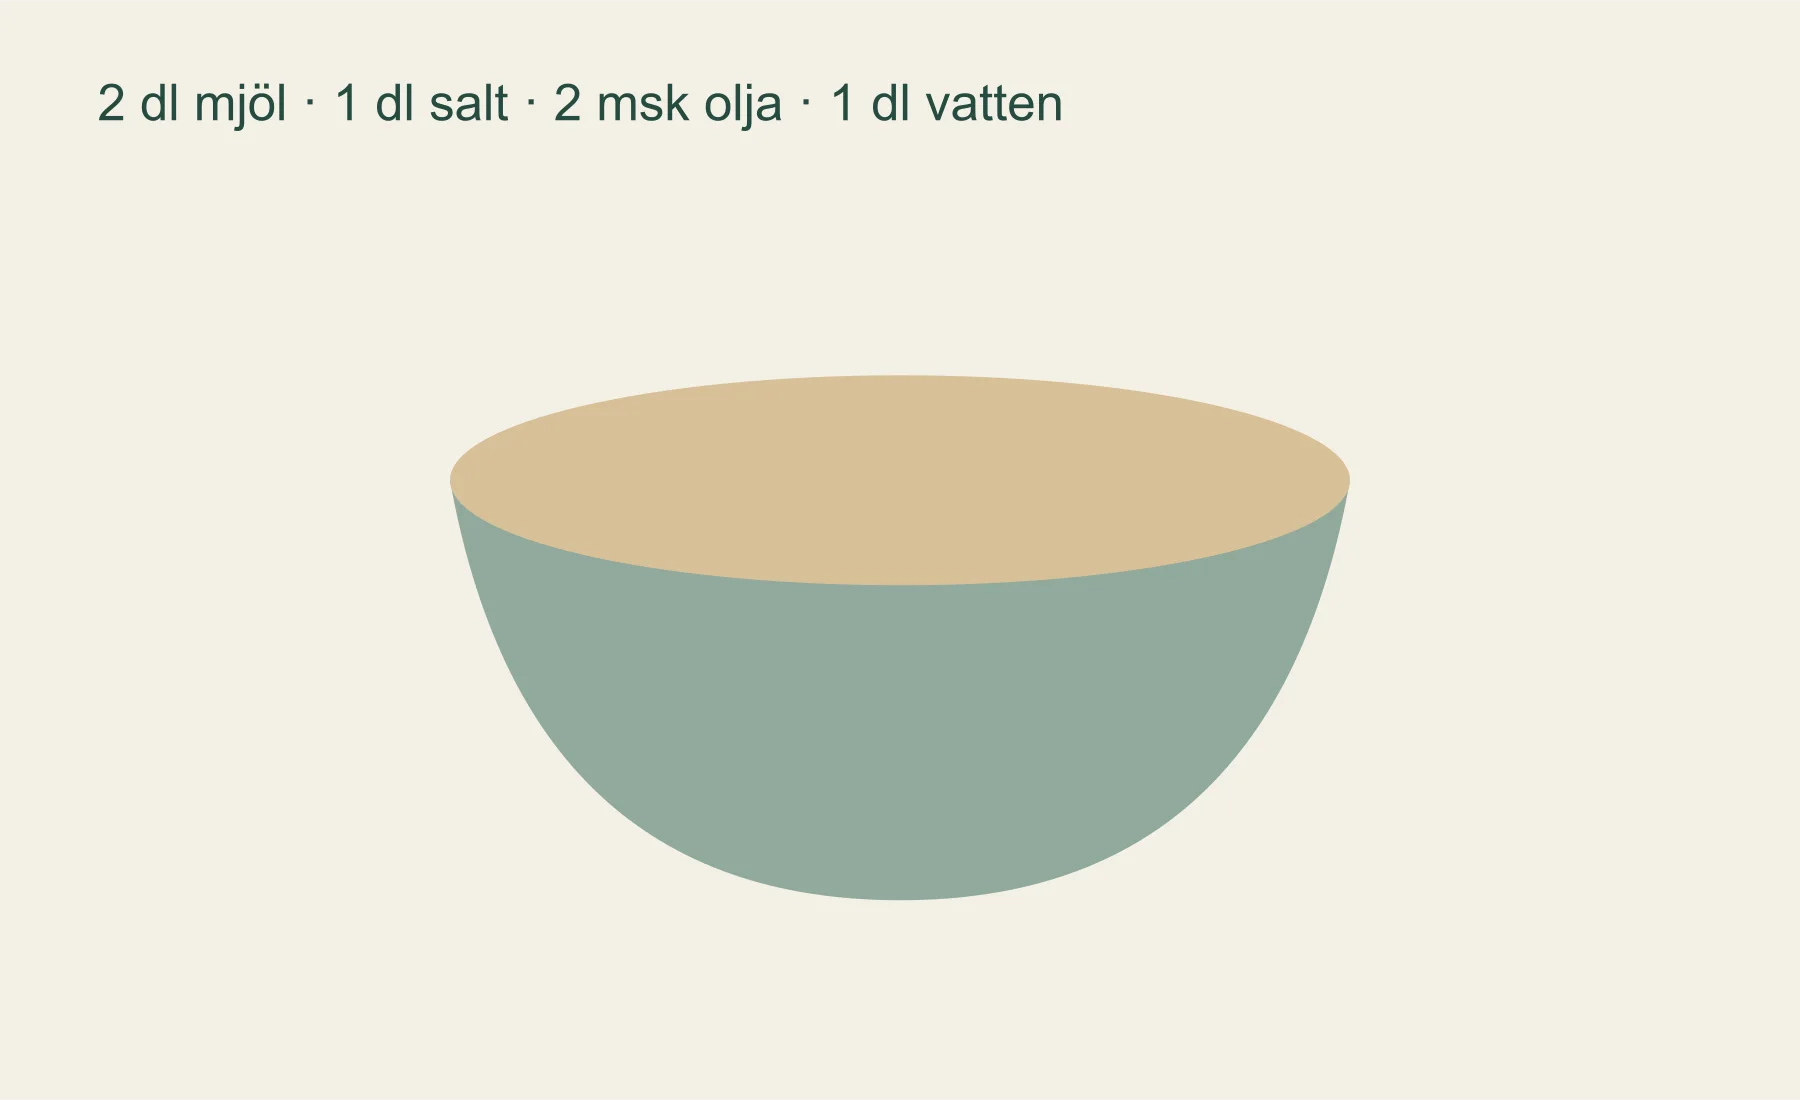
1. Mix the flour and salt, add the oil and water and work into a smooth dough. Take out a small piece at a time.
-

2. Roll out an even sheet, about 4–5 mm as a starting thickness. Cut out small shapes and move them to a tray with baking paper.
-
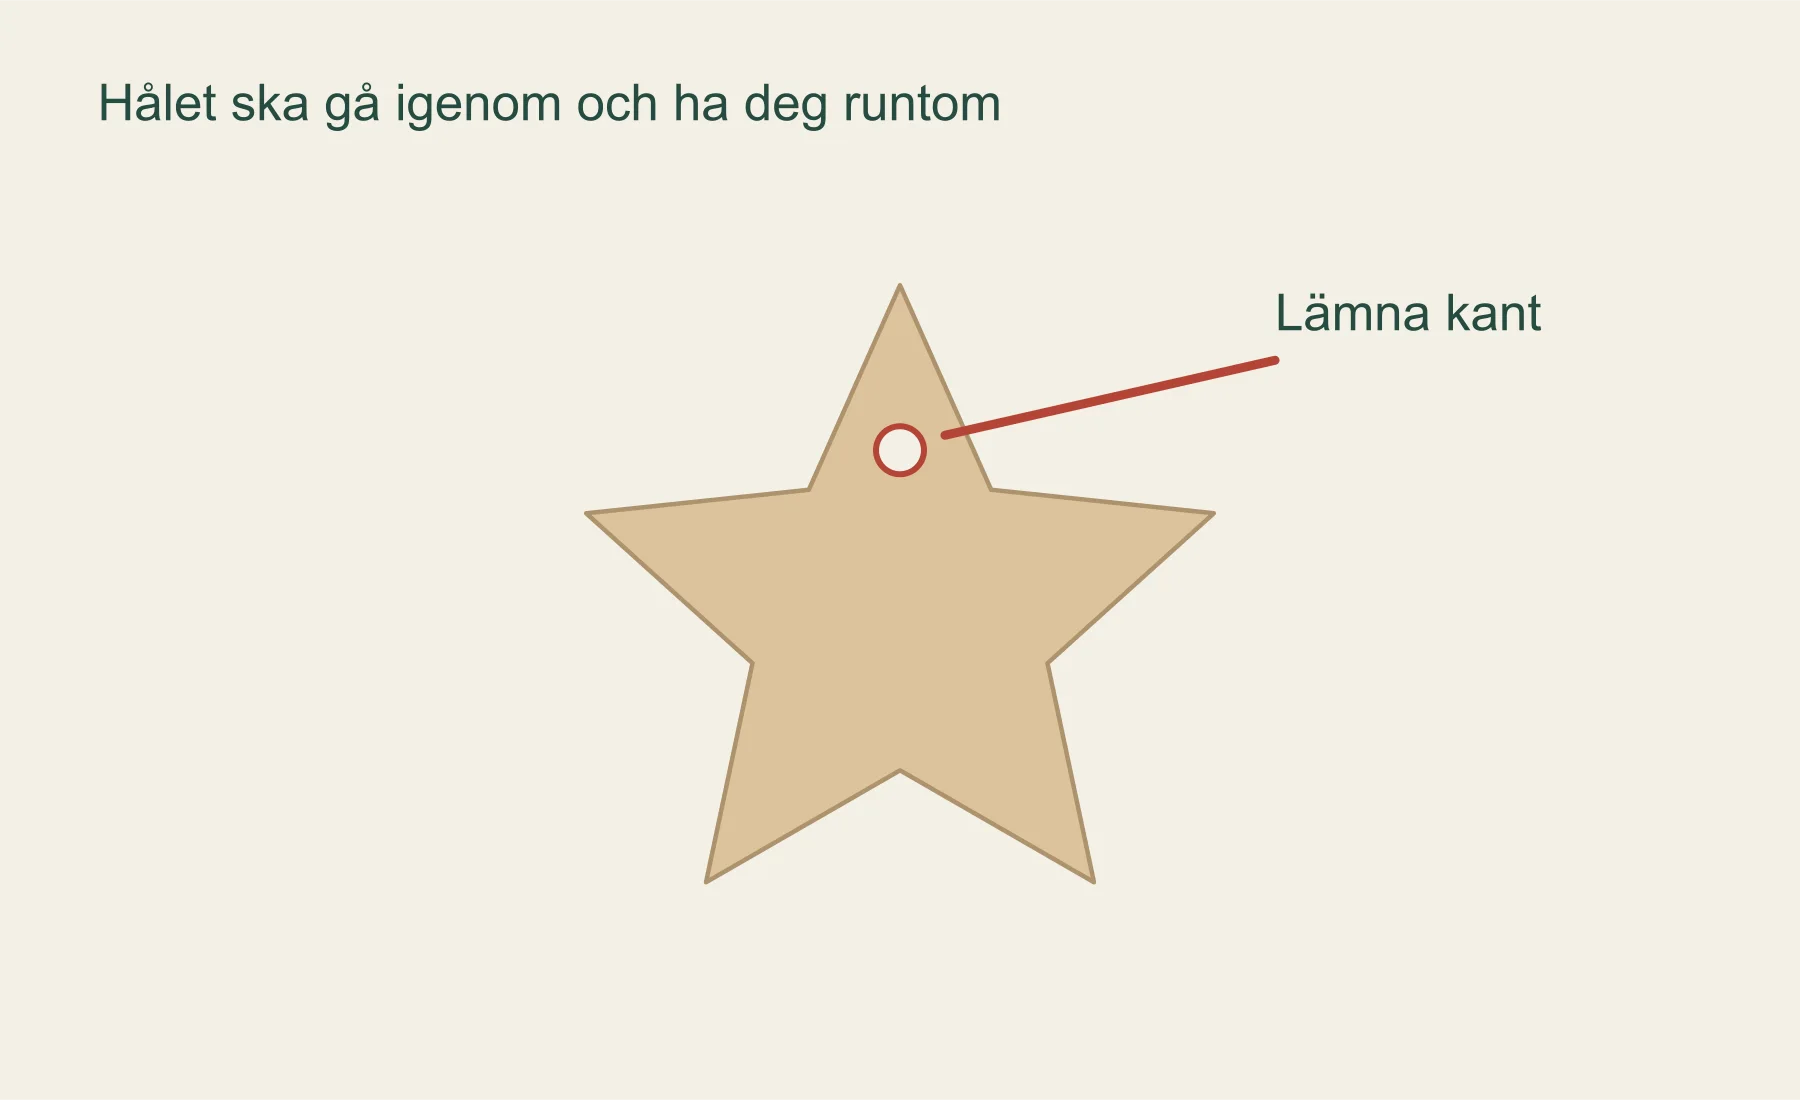
3. Make holes for the string while the dough is soft. Leave a clear margin between the hole and the outer edge of the shape and remove the dough plug.
-
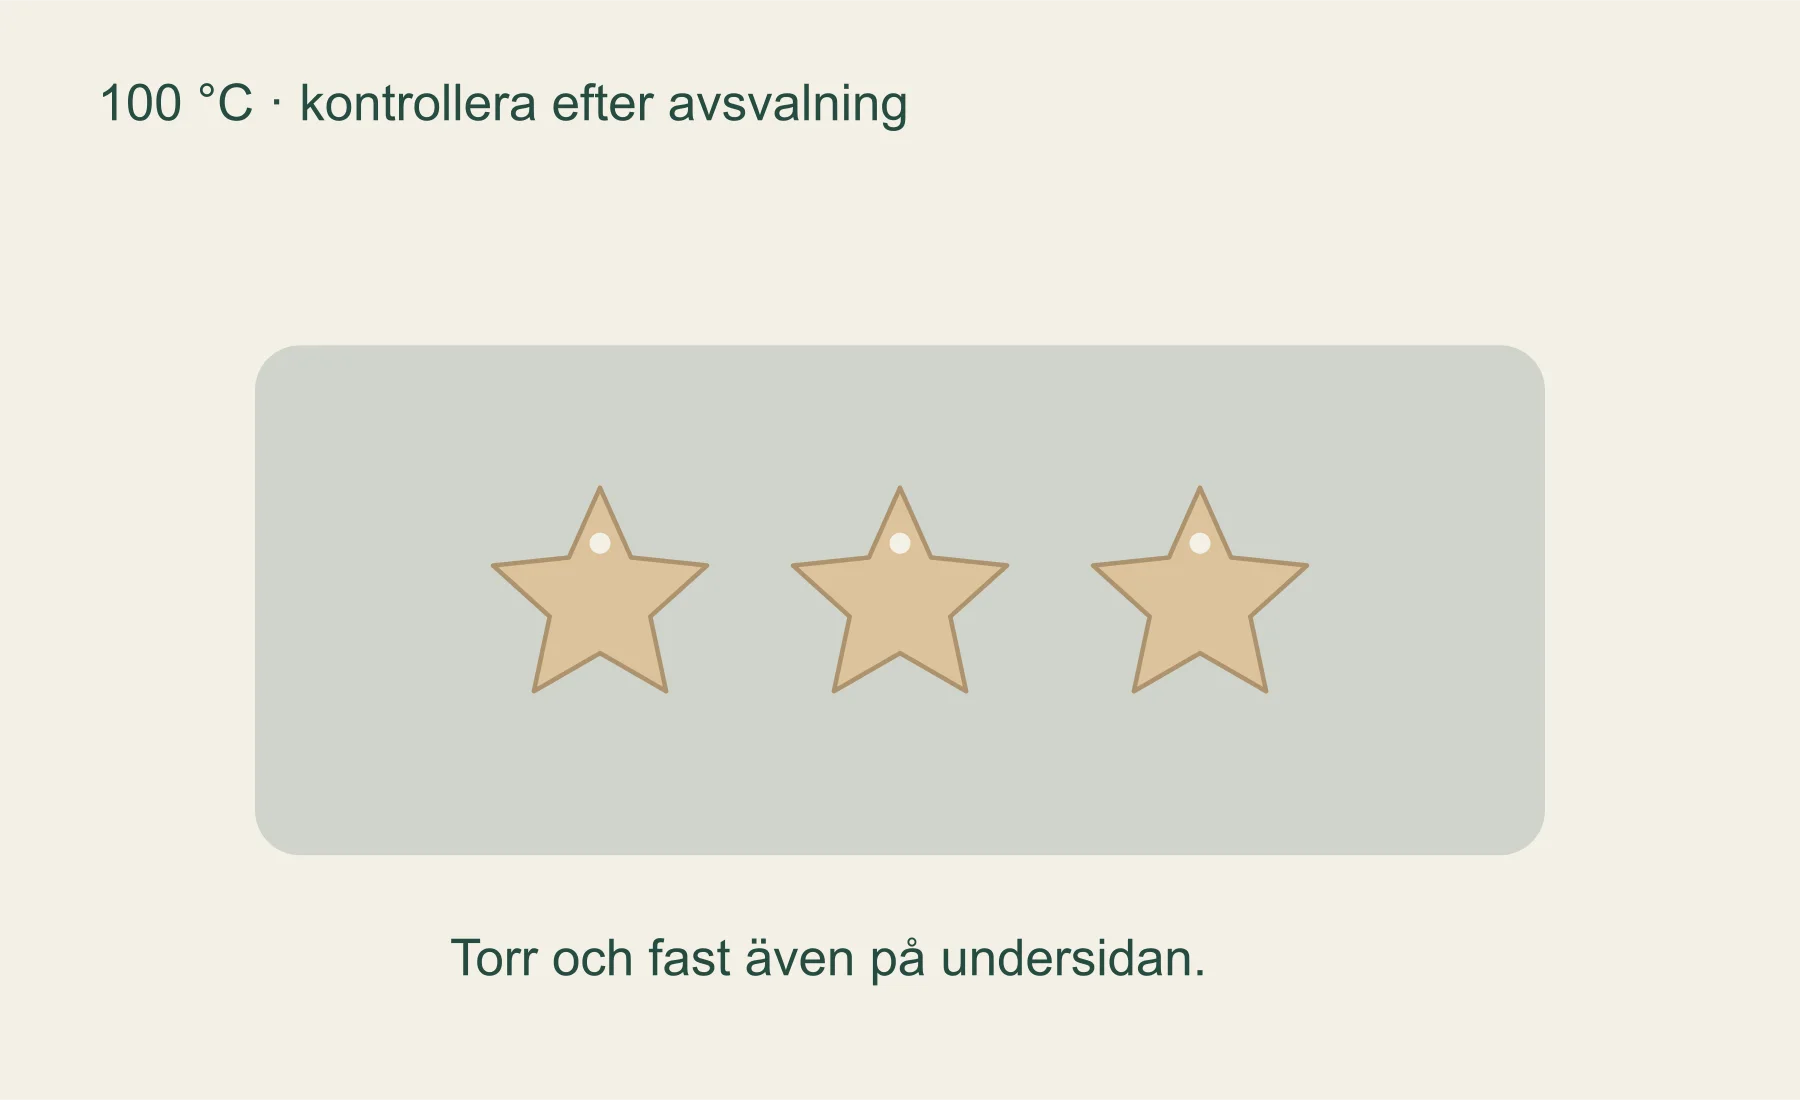
4. An adult dries the shapes in a 100 degree oven. Start checking after about an hour; thick parts need longer. Let cool and check the underside too.
-
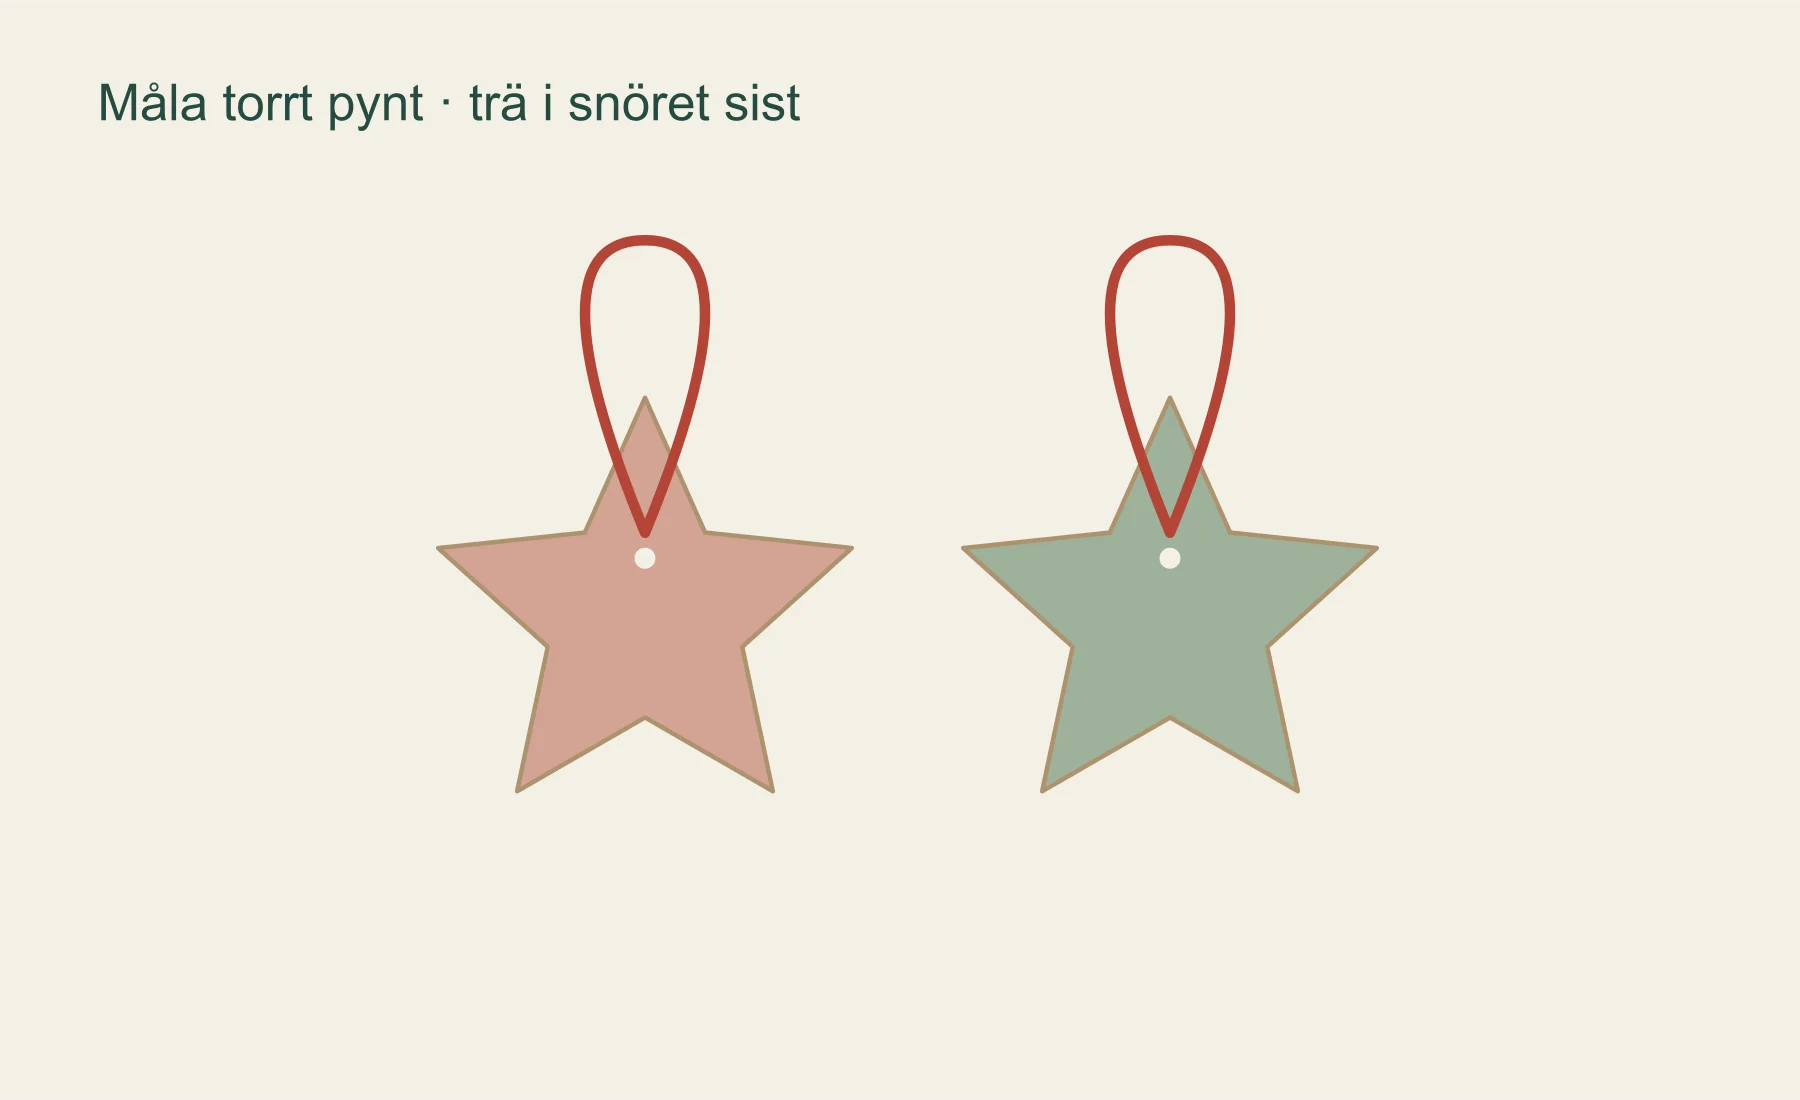
5. Only paint dry, cool shapes. Let the paint dry according to its instructions, thread on string and hang the light shapes on the branch.
Salt dough is perfect when the kids want to make decorations from scratch: mix, roll, press a cutter and decide the colour themselves. A few small stars are enough for one craft session. Next time it could be hearts, letters or an imprint of something you found on a walk.
Make the hanging hole while the dough is soft. It's that detail that turns the shape into a Christmas tree decoration instead of a shape that just ends up lying on the table. Feel free to split the work: shape and dry first, paint another day. The second session can get its own slot in your homemade Advent calendars.
Mix a small batch of dough
Use 2 dl plain flour, 1 dl salt, 2 tbsp oil and 1 dl water. Mix the dry ingredients first and then work in the liquid. Knead until the dough is smooth. If it sticks to the surface, work in a little flour at a time; if it cracks right away, wet your hands and keep working.
Put out a small piece of dough for each person and let the rest wait under cover while you work. That makes it easier to keep the table tidy and to roll out an even thickness. Use small cutters that can be moved without pulling arms or points out of shape.
This is craft material: the dough and the shapes are not to be eaten. Keep them away from small children who put things in their mouths and from pets. An adult handles the oven and the tray, and paint and tools should suit the people using them. Wash up the tools afterwards and keep the craft separate from food and fika.
Roll evenly and choose simple shapes
Aim for an even sheet of about 4–5 mm as a working thickness. Small shapes of even thickness are easier to dry and hang than thick figures with thin protruding parts. Press the cutter straight down and lift it off carefully.
Move the decoration to baking paper with a flat tool if it sticks to the table. Avoid lifting a star by a single point. If the edge gets pulled out of shape, you can even it out while the dough is still soft.
If the kids want to make patterns, they can press lightly with a fork or a blunt tool. Deep grooves through almost the whole dough weaken the shape. Try a small imprint first. The paint can do the rest of the work once the shape has dried.
Make the hole before the tray goes in
Place the hole in a broad part of the shape, with about half a centimetre of dough left towards the outer edge on a small shape. In a star, the area below the outermost part of the point is stronger than the point itself. Choose thin string and make the hole bigger than the thickness of the string.
Push through with a straw or another blunt hole tool and remove the dough plug. Check the hole from both sides. A hole that goes all the way through now saves fiddling and cracked edges later.
Let the child choose where the shape should hang before the hole is made. A heart can get a loop in the middle, or two small holes to sit flat on a present. Decide on one solution per shape so it's easy to see what needs doing.
Dry on low heat and let cool
Set the oven to 100 degrees and lay the shapes in a single layer on baking paper. Start checking after about an hour. The thickness determines how long they need; a sturdy shape can still be soft when a thin star is done.
Let a shape cool before you feel it and turn it over so you can judge the underside too. It should be firm and dry, not soft in the middle. Keep drying the shapes that need more time. Let the whole tray cool before the painting session and threading.
While you wait, you can plan a advent outing for later or lay out the pattern for a orange garland. Turn off the oven before you leave the house.
Paint, thread and keep
Paint the completely dry shapes and let the paint dry according to its instructions. Keep the hole open while you paint. A single patch of colour, a few dots or the child's initial is enough if the shape is already clear.
Thread on the string and tie a loop. Place the knot so the shape hangs freely and use the lightest shapes on thin branches. A shape that has cracked at the hole can sit in a little bowl instead of being forced up into the tree.
Store the decorations dry when Christmas is over, preferably in a shallow box with paper between the layers. Salt dough suits indoors in a dry environment. For a front door or a window where other materials work better there is stick star and more ideas in the Christmas guide.
If you want to build something bigger together, a gingerbread house is a project of its own with a different dough and method. Do it another day so decorations, tools and baking are kept apart.
Frequently asked questions
Are salt dough and magic dough the same thing?
Here we mean a mouldable craft dough of flour, salt, water and oil that goes hard when it dries. It is not edible cookie dough.
When do you make the hole for the string?
While the dough is soft, before drying. Make the hole a little way from the outer edge and check that it goes through the whole shape.
When can you paint the salt dough?
When the shape is completely dry and cool. Check the underside and the thickest part too before you get the paint out.
Can you keep the decorations for next year?
Store fully dry decorations in a dry place in a box that protects them from pressure. Salt dough absorbs moisture, so avoid damp sheds and front doors.