Short answer
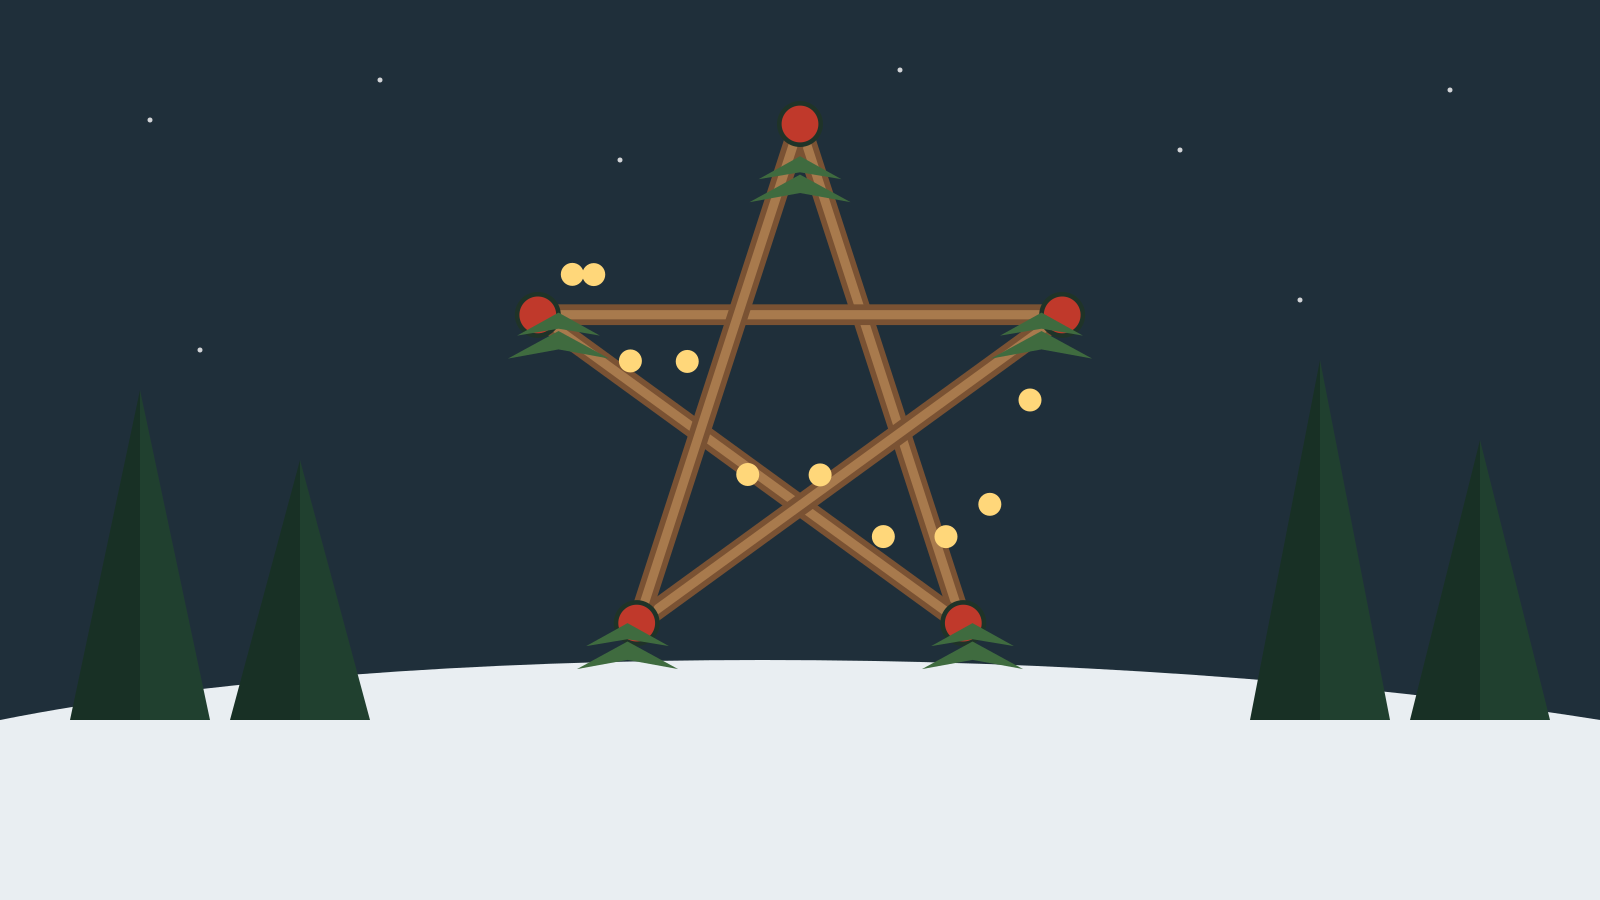
Collect five straight sticks lying on the ground, all the same length. Tie them together one at a time into a five-pointed star and wind yarn around each crossing so that it becomes sturdy. Decorate with spruce twigs, cones or a battery string light and hang the star in the window or on the door. It takes half an hour and suits children from age four with an adult.
What you need
- Five straight sticks lying on the ground, the same length
- Yarn, ideally red or white, or jute twine
- Scissors
- Spruce twigs, cones or lingonberry sprigs lying on the ground
- Battery-powered LED string light (optional)
- Glue (optional)
Step by step
-
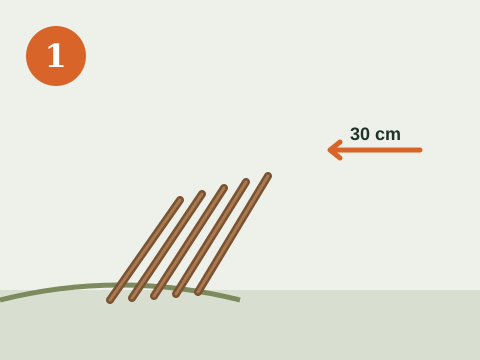
1. Collect five straight sticks lying on the ground. They should be roughly the same length and thickness – 30 centimetres makes a good window star.
-
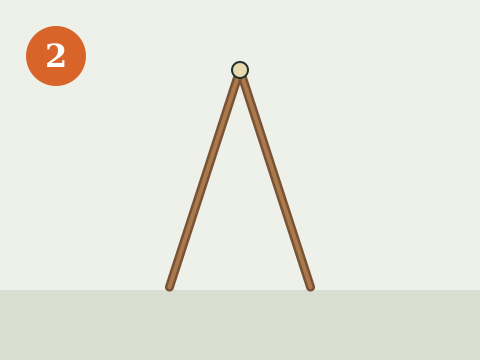
2. Lay two sticks in a narrow V and tie them together at the top with yarn. That is the star's first point.
-
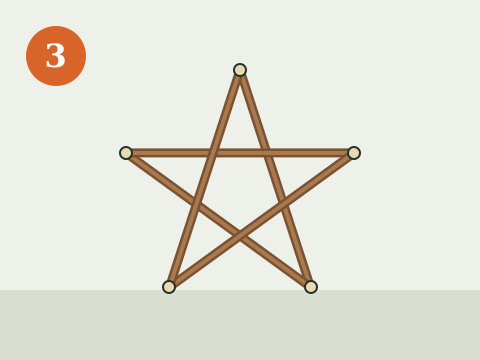
3. Add one stick at a time so that it becomes a five-pointed star, and tie each new point together. The last stick goes over and under the others so that the star locks itself.
-
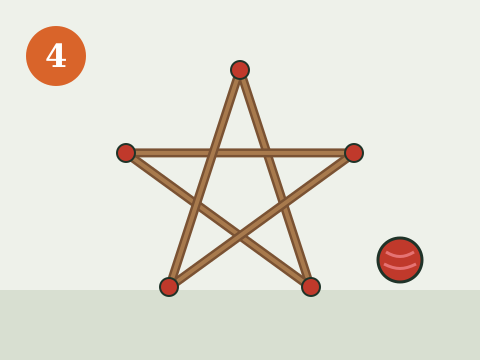
4. Wind yarn crosswise around each point and each crossing a few times and finish with a double knot.
-
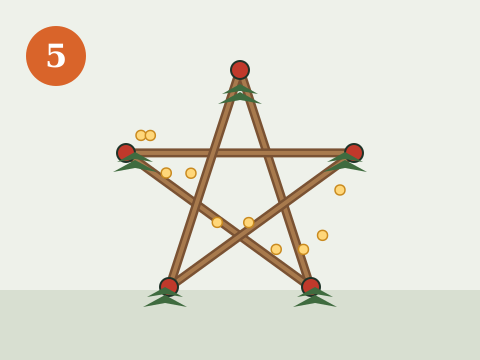
5. Decorate with spruce twigs, small cones or a battery string light wound around the sticks.
-
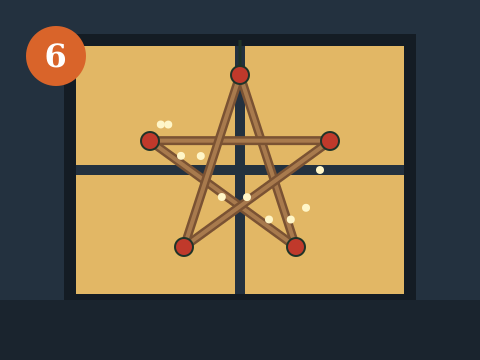
6. Tie a yarn loop to the top point and hang the star in the window, on the door or in a tree by the house.
A Christmas star made of sticks is one of the simplest and most beautiful Christmas crafts there is – and it starts outdoors. Take a walk in the forest on an Advent weekend, look for five straight sticks and come home with the materials for a star that can hang in the window all Christmas. It costs nothing and looks just as good in a window in town as on the door of a mountain cabin.
The only thing that takes a little patience is making the star sturdy. The trick is to tie one point at a time and let the last stick go over and under the others, so that the crossings lock each other. With a little yarn at each crossing, the star becomes sturdy enough to hang outside in the wind.
Looking for sticks in the forest
Look for sticks that are straight, dry and roughly the same thickness – hazel, birch and spruce work well. Lay them side by side and cut them to the same length with secateurs or a saw.
Under the Right of Public Access you may take sticks, twigs and cones that are lying on the ground. Spruce twigs, twigs from living trees and moss, on the other hand, may not be taken without the landowner's permission. Look for fallen spruce twigs after a windy night, or buy a bundle. You can read more about the rules in our guide to the Right of Public Access.
Make the walk part of the craft: bring a flask of glögg and gingerbread biscuits and let the children compete for the straightest sticks. More ideas for being outdoors with children among child-friendly activities in nature.
Who does what – children and adults
- Ages 4–6: look for sticks, choose the yarn and wind it while an adult holds the sticks.
- Ages 7–9: tie the star themselves with a little help holding the first point.
- Age 10 and up: can make a large garden star or a star with double sticks.
An adult cuts the sticks with secateurs or a saw.
Three sizes
- Window star (30 cm): thin sticks and thin yarn. Hang it in the window with a suction cup.
- Door star (50–60 cm): slightly thicker sticks and jute twine. Decorate with spruce twigs and a few cones.
- Garden star (1 metre): thick branches and string. Attach it to a wall, a fence or a tree and wind a battery string light around it – it can be seen from the road all winter.
Decorating the star
- Spruce and lingonberry sprigs in the points give a green and fragrant star.
- Small cones are glued or tied to the crossings. There are more ideas with cones from the forest in pine cone ghosts.
- Red wooden beads or rowan berries threaded onto the yarn add colour.
- A battery string light turns the star into a glowing Christmas star. Only use LED – dry sticks and spruce twigs burn easily, and real candles should never be in or near the star.
The star in the garden
A star made of sticks lasts outdoors all winter if it is tied properly. Hang it where it can be seen from the window, ideally next to a bird feeder – then the children have something to look at every morning. When Christmas is over, the star can be saved for next year, or taken apart and the sticks returned to the forest.
We collect more ideas for Advent and Christmas in Christmas with kids.
Frequently asked questions
How long should the sticks be for a Christmas star?
About 30 centimetres for a window star and 50–60 centimetres for a door star. The most important thing is that all five sticks are the same length and roughly the same thickness.
May you take sticks and spruce twigs from the forest?
Sticks and twigs lying on the ground may be taken under the Right of Public Access. Spruce twigs and twigs from living trees may not be broken off without the landowner's permission – take fallen spruce twigs or buy a bundle.
How do you make the star sturdy?
Tie each crossing separately, wind the yarn crosswise a few times and finish with a double knot. A small drop of glue in each knot makes the star even sturdier.
Can you put lights in the Christmas star?
Yes, but only battery-powered lights. An LED string light is wound around the sticks. Dry sticks and spruce twigs burn easily, so real candles should never be in or near the star.
From what age can children make a Christmas star of sticks?
From about four years old, with an adult holding the sticks while the child winds the yarn. From seven or eight, many children can manage the whole star themselves.