Short answer
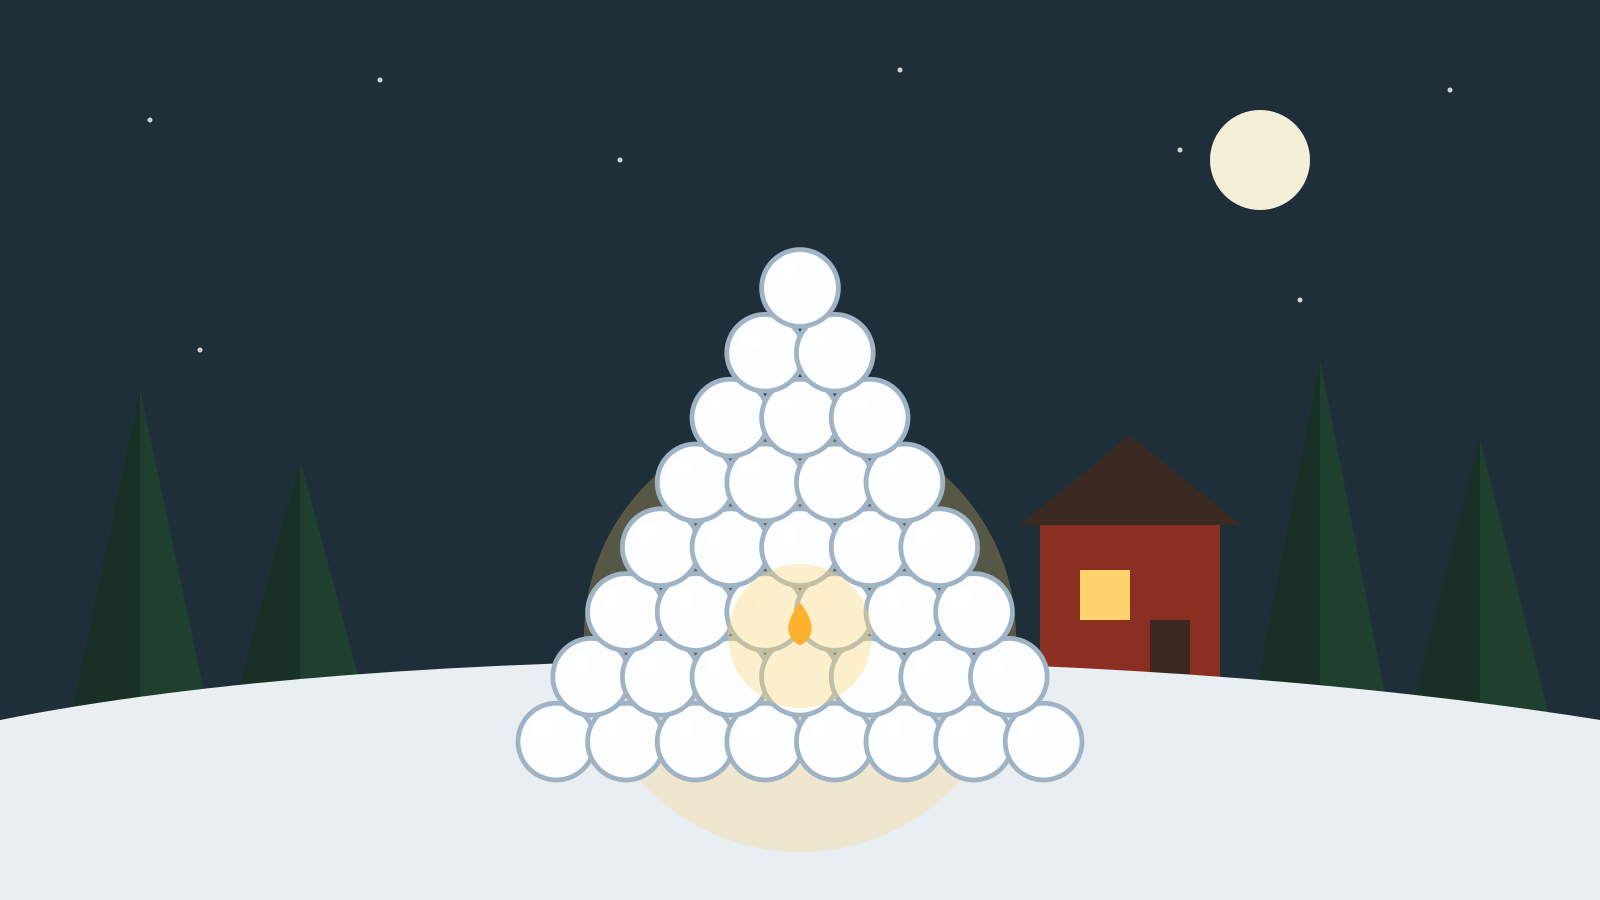
Wait for packing snow – snow that can be shaped into balls, usually at around zero degrees. Roll 40–50 snowballs the size of an orange. Lay a ring of balls on firm ground, put a candle in the middle and build layer upon layer with slightly fewer balls in each, so that it becomes a cone. Leave small gaps so that the light shines through, and finish with one ball on top.
What you need
- Packing snow
- A tealight in a glass jar, a candle or an outdoor candle
- Matches or a lighter (adult)
- Warm mittens, preferably a spare pair
Step by step
-
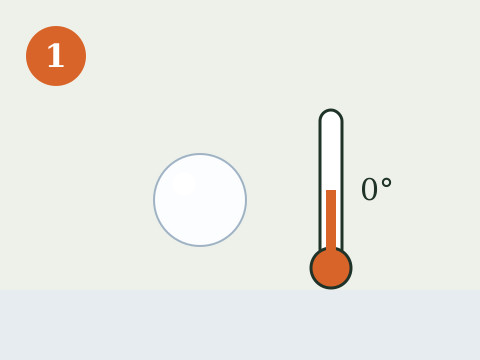
1. Check the snow. Squeeze a handful of snow – if it holds together like a ball, it is packing snow. It usually comes when it is around zero degrees.
-

2. Roll 40–50 snowballs, about the size of an orange. The more even the size, the sturdier the lantern.
-
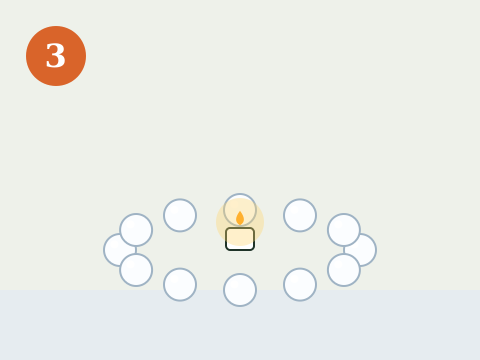
3. Stamp down the snow where the lantern will stand. Lay a ring of 8–12 balls and put the candle in its jar in the middle of the ring.
-

4. Build the next layer on top, with the balls staggered like a wall and one ball fewer than in the layer below. Press them lightly against the layer below.
-
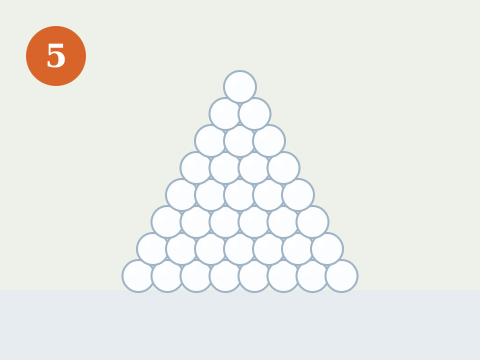
5. Keep going until the lantern becomes a cone. Leave small gaps between the balls and finish with a single ball on top.
-
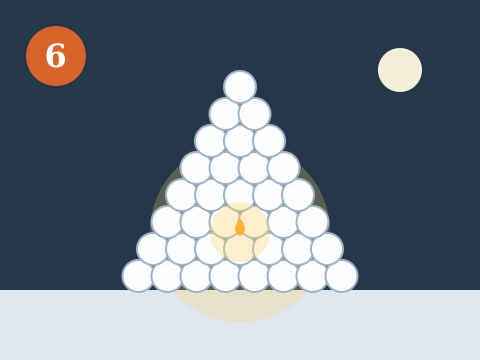
6. Light the candle with a long match through a gap in the bottom layer – or light it before the last layers go on. Put the candle out before you go inside.
A snow lantern is winter's simplest and most beautiful craft: a cone of snowballs with a candle in the middle that lights up the garden in the dark. It costs nothing, all ages can join in – and once it is standing there on a dark December evening it is as lovely as any Christmas lights.
All it takes is the right snow. Packing snow – wet, heavy snow that can be shaped into hard balls – usually comes when the temperature is around zero degrees. If you have that, half the job is done. The rest is building calmly, layer by layer, so that the lantern doesn't collapse.
The right snow and the right spot
- Packing snow. Squeeze a handful of snow. If it holds together, the snow is perfect. If it falls apart, it is too cold – wait for a milder day.
- Firm ground. Stamp down the snow where the lantern will stand so that it doesn't sink crookedly.
- A visible spot. Build it where you can see it from the window or where guests walk past – by the steps, the gate or the driveway.
- A little way from the house. A couple of metres from walls, bushes and anything else that can catch fire.
Build a sturdy lantern
The trick is to build it like a wall. Each ball in a new layer should sit over the joint between two balls in the layer below. That way the balls lock each other in place. Make each layer only slightly smaller than the one before – one or two balls fewer – so that the lantern becomes a cone and not a tower.
Leave small gaps between the balls. They let the light show and give the flame air. If it is cold, the balls freeze together overnight and the lantern becomes even sturdier.
Which light in the snow lantern?
- Tealight in a glass jar – the most common. The jar protects against wind and snow.
- Candle in a simple holder – gives more light in a large lantern.
- Outdoor candle – burns long and bright. Suits a large lantern with space around the flame.
- LED candles – best if the youngest children will touch the lantern, or if it is to glow all evening without supervision.
The candle is sheltered inside the snow, but never leave a lit candle unattended and put it out before you go inside. Light it with a long match or a grill lighter through a gap in the bottom layer.
Who does what – children and adults
- Ages 3–5: squeeze snowballs and carry them to the lantern. Count the balls together.
- Ages 6–9: build the layers themselves, with an adult helping to keep the top straight.
- Age 10 and up: can build a large lantern on their own or a whole row of lanterns.
An adult lights and puts out the candle. Bring a spare pair of mittens – packing snow makes mittens wet in a few minutes.
A whole street of snow lanterns
If you have plenty of snow, you can build several lanterns along the path up to the house, or one big one with several small ones around it. It makes a lovely welcome on Christmas Eve or New Year's Eve. Put a snow lantern next to the bird feeder or under the tree with ice ornaments, and hang a star made of sticks in the window above.
Make an evening of it: a flask of glögg, some gingerbread biscuits, a jar of knäck toffee and a walk around the garden in the dark while the lanterns glow. There are more ideas for being outdoors with children among child-friendly activities in nature, and all of Christmas is collected in Christmas with kids.
Frequently asked questions
What snow do you need for a snow lantern?
Packing snow – wet snow that can be shaped into hard balls. It usually comes when the temperature is around zero degrees. Dry powder snow in hard frost cannot be shaped.
How many snowballs does a snow lantern take?
About 40–50 orange-sized snowballs for a medium snow lantern just under a metre tall. A large lantern may need a hundred balls or more.
Which candle should you use in a snow lantern?
A tealight in a glass jar, a candle in a holder or an outdoor candle. The candle is sheltered inside the snow, but never leave a lit candle unattended. For the youngest children an LED candle works best.
Why does my snow lantern collapse?
Usually the snow is too dry or the balls are too different in size. Stagger the balls like a wall, press them lightly against the layer below and make each layer only slightly smaller than the one before.
How long does a snow lantern last?
As long as it stays below zero, it can stand for weeks. If it freezes at night it gets harder and lasts even better. When it gets above zero and rains, it slumps.