Short answer
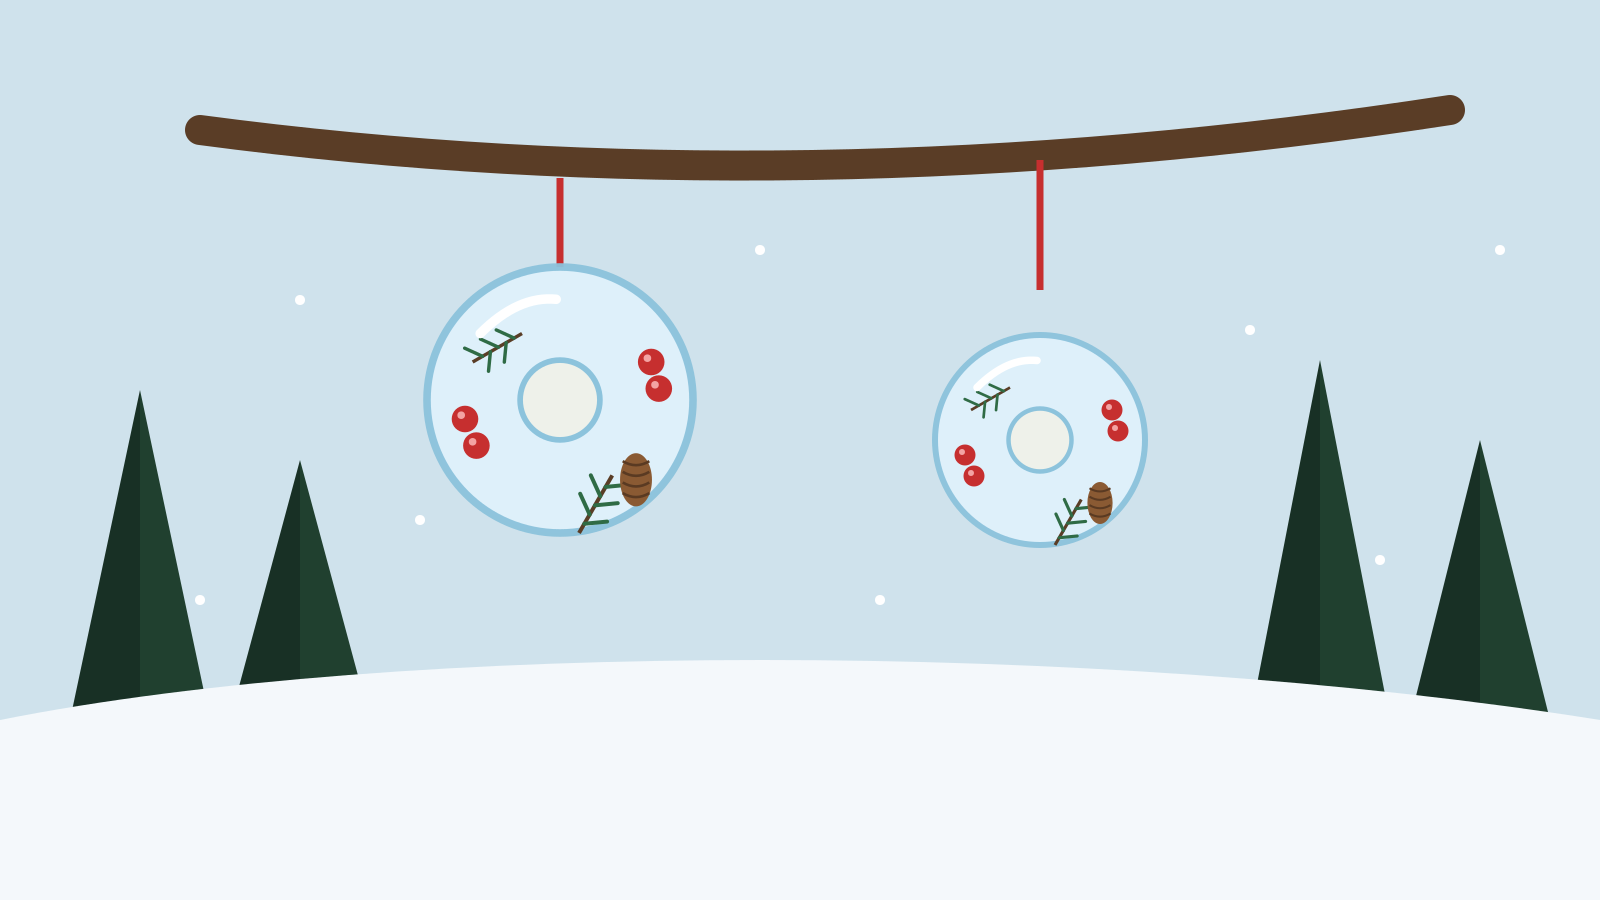
Put berries, small twigs and pine cones in a round mould, for example a ring cake tin. Fill it with water, add a loop of string and put the mould outside on a cold night. When the water has frozen, dip the mould in lukewarm water so the ice comes loose, and hang the wreath in a tree. It lasts as long as the temperature stays below zero.
What you need
- A round mould – a ring cake tin, a plastic lid or a muffin tin
- Water, preferably boiled and cooled
- Berries, small twigs, pine cones, leaves or dried orange slices
- String or yarn, about 40 cm per ornament
- Sub-zero temperatures outside, or space in the freezer
Step by step
-
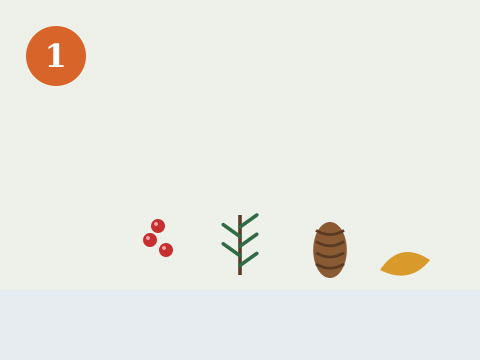
1. Go outside and collect what you want to freeze: red berries, small twigs of spruce and juniper, and pine cones and leaves lying on the ground.
-
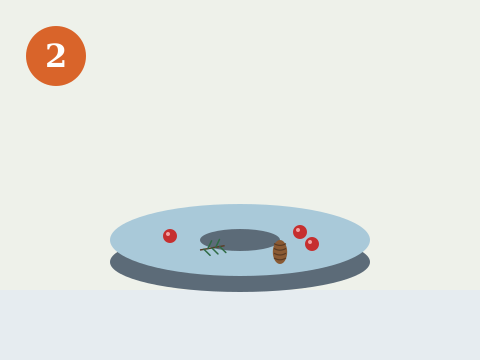
2. Put what you have collected in the mould and fill with water, about two centimetres deep. Press down anything that floats up.
-

3. Lay a loop of string with both ends down in the water so that it freezes into the ice.
-

4. Put the mould flat outside on a cold night, or in the freezer. At a few degrees below zero a thin ornament is frozen by morning.
-
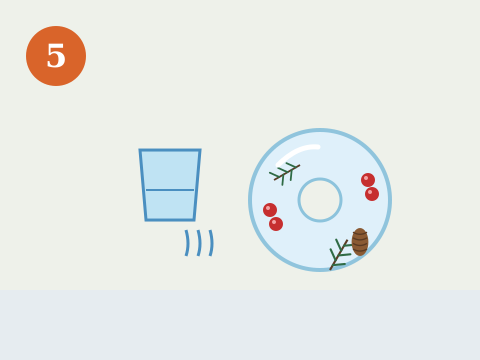
5. Dip the mould quickly in lukewarm water so the ice comes loose. Carefully lift the ornament out by the string.
-
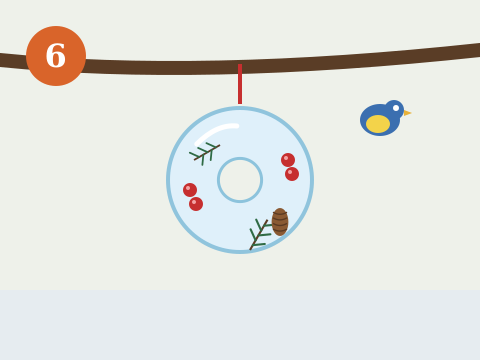
6. Hang the ice ornament in a tree where nobody walks underneath, ideally where you can see it from the window.
Ice ornaments are a winter craft that only works when it is really cold – and that is exactly why it is so much fun. Berries, twigs and pine cones you have collected on your walk are frozen into ice and hung in the trees, where they sparkle in the sun and glow when you shine a flashlight on them in the evening. When winter is over they melt away and leave no litter behind.
All it takes is sub-zero temperatures, a mould and a little patience overnight. The children decide what to freeze, and every ornament is unique.
Moulds that work
- Ring cake tin – makes an ice wreath that is easy to hang.
- Plastic lids and ice cream tubs – make round or square ice discs.
- Muffin tin – small ice ornaments, one per child.
- Gingerbread cutters on a plate with a rim – make stars and hearts. The same cutters as for the gingerbread biscuits.
Moulds made of silicone or soft plastic release the ice most easily. Place the mould flat, otherwise the ornament will be thick on one side and thin on the other.
What to freeze in the ice?
Look for things with colour and shape. Red berries such as rowan berries and lingonberries glow against the ice. Small twigs of spruce, juniper and pine add green. Pine cones, leaves, dried orange slices and cinnamon sticks also work well.
Take what is lying on the ground or what you are allowed to pick – under the Right of Public Access you may take sticks, pine cones and berries, but not break twigs off living trees without permission. Choose things the birds can eat if you can. When the ice melts it ends up on the ground, and rowan berries and lingonberries are good winter food for thrushes and waxwings. If you want to feed the birds more, there are bird cakes in bird feeder for the winter.
Clear ice and sturdy ornaments
- Boil the water and let it cool before pouring it into the mould. That makes the ice clearer.
- Two layers – first freeze a thin layer of water with the berries, then fill up the rest. That way the berries stay where you want them instead of floating up.
- Just the right thickness – two to three centimetres. Thinner ones crack easily, thicker ones get heavy.
- Lukewarm water – dip the mould for just a few seconds. Hot water can make the ice crack.
An ice lantern in a bucket
The same principle makes an ice lantern. Fill a plastic bucket with water and put it outside on a really cold night. When a thick shell has frozen around the edges but the middle is still water, turn the bucket upside down and let the water run out. What is left is an ice bowl to put a candle in. Put it next to a snow lantern and the whole garden glows.
Who does what – children and adults
- Ages 3–5: collect berries and pine cones and put them in the mould.
- Ages 6–9: fill up the water, make the string loops and decide where the ornaments will hang.
- Age 10 and up: can make an ice lantern or a whole series of ornaments in different shapes.
An adult hangs up the ornaments, as the ice is heavy and slippery strings easily come loose. Hang them where nobody walks underneath.
More ideas for winter crafts outdoors
Ice ornaments go nicely with a star made of sticks in the window and pine cone ghosts made from the leftover pine cones. There are more ideas for being outdoors with children among child-friendly activities in nature, and everything for Christmas is collected in Christmas with kids.
Frequently asked questions
How cold does it need to be to make ice ornaments?
A few degrees below zero is enough. A thin ornament freezes overnight at about minus five degrees. A thick wreath or an ice lantern needs colder weather or more time. The freezer works too.
How do you get the ice out of the mould?
Dip the mould in lukewarm water for a few seconds, or hold it under the tap. The outer layer melts and the ice slides out. Never use hot water – it can make the ice crack.
How do you get clear ice?
Boil the water and let it cool before pouring it into the mould. Some of the air disappears and the ice becomes clearer. Distilled water also gives clearer ice.
What can you freeze into ice ornaments?
Red berries such as rowan berries and lingonberries, small twigs of spruce and juniper, pine cones, dried orange slices, leaves and flowers. Choose things the birds can eat if you can, since it ends up on the ground when the ice melts.
Where should you hang the ice ornaments?
In a tree or a bush where nobody walks underneath, as the ice is heavy and can fall when the string freezes or the ice melts. Hang them where you can see them from the window – the sun makes them sparkle.