
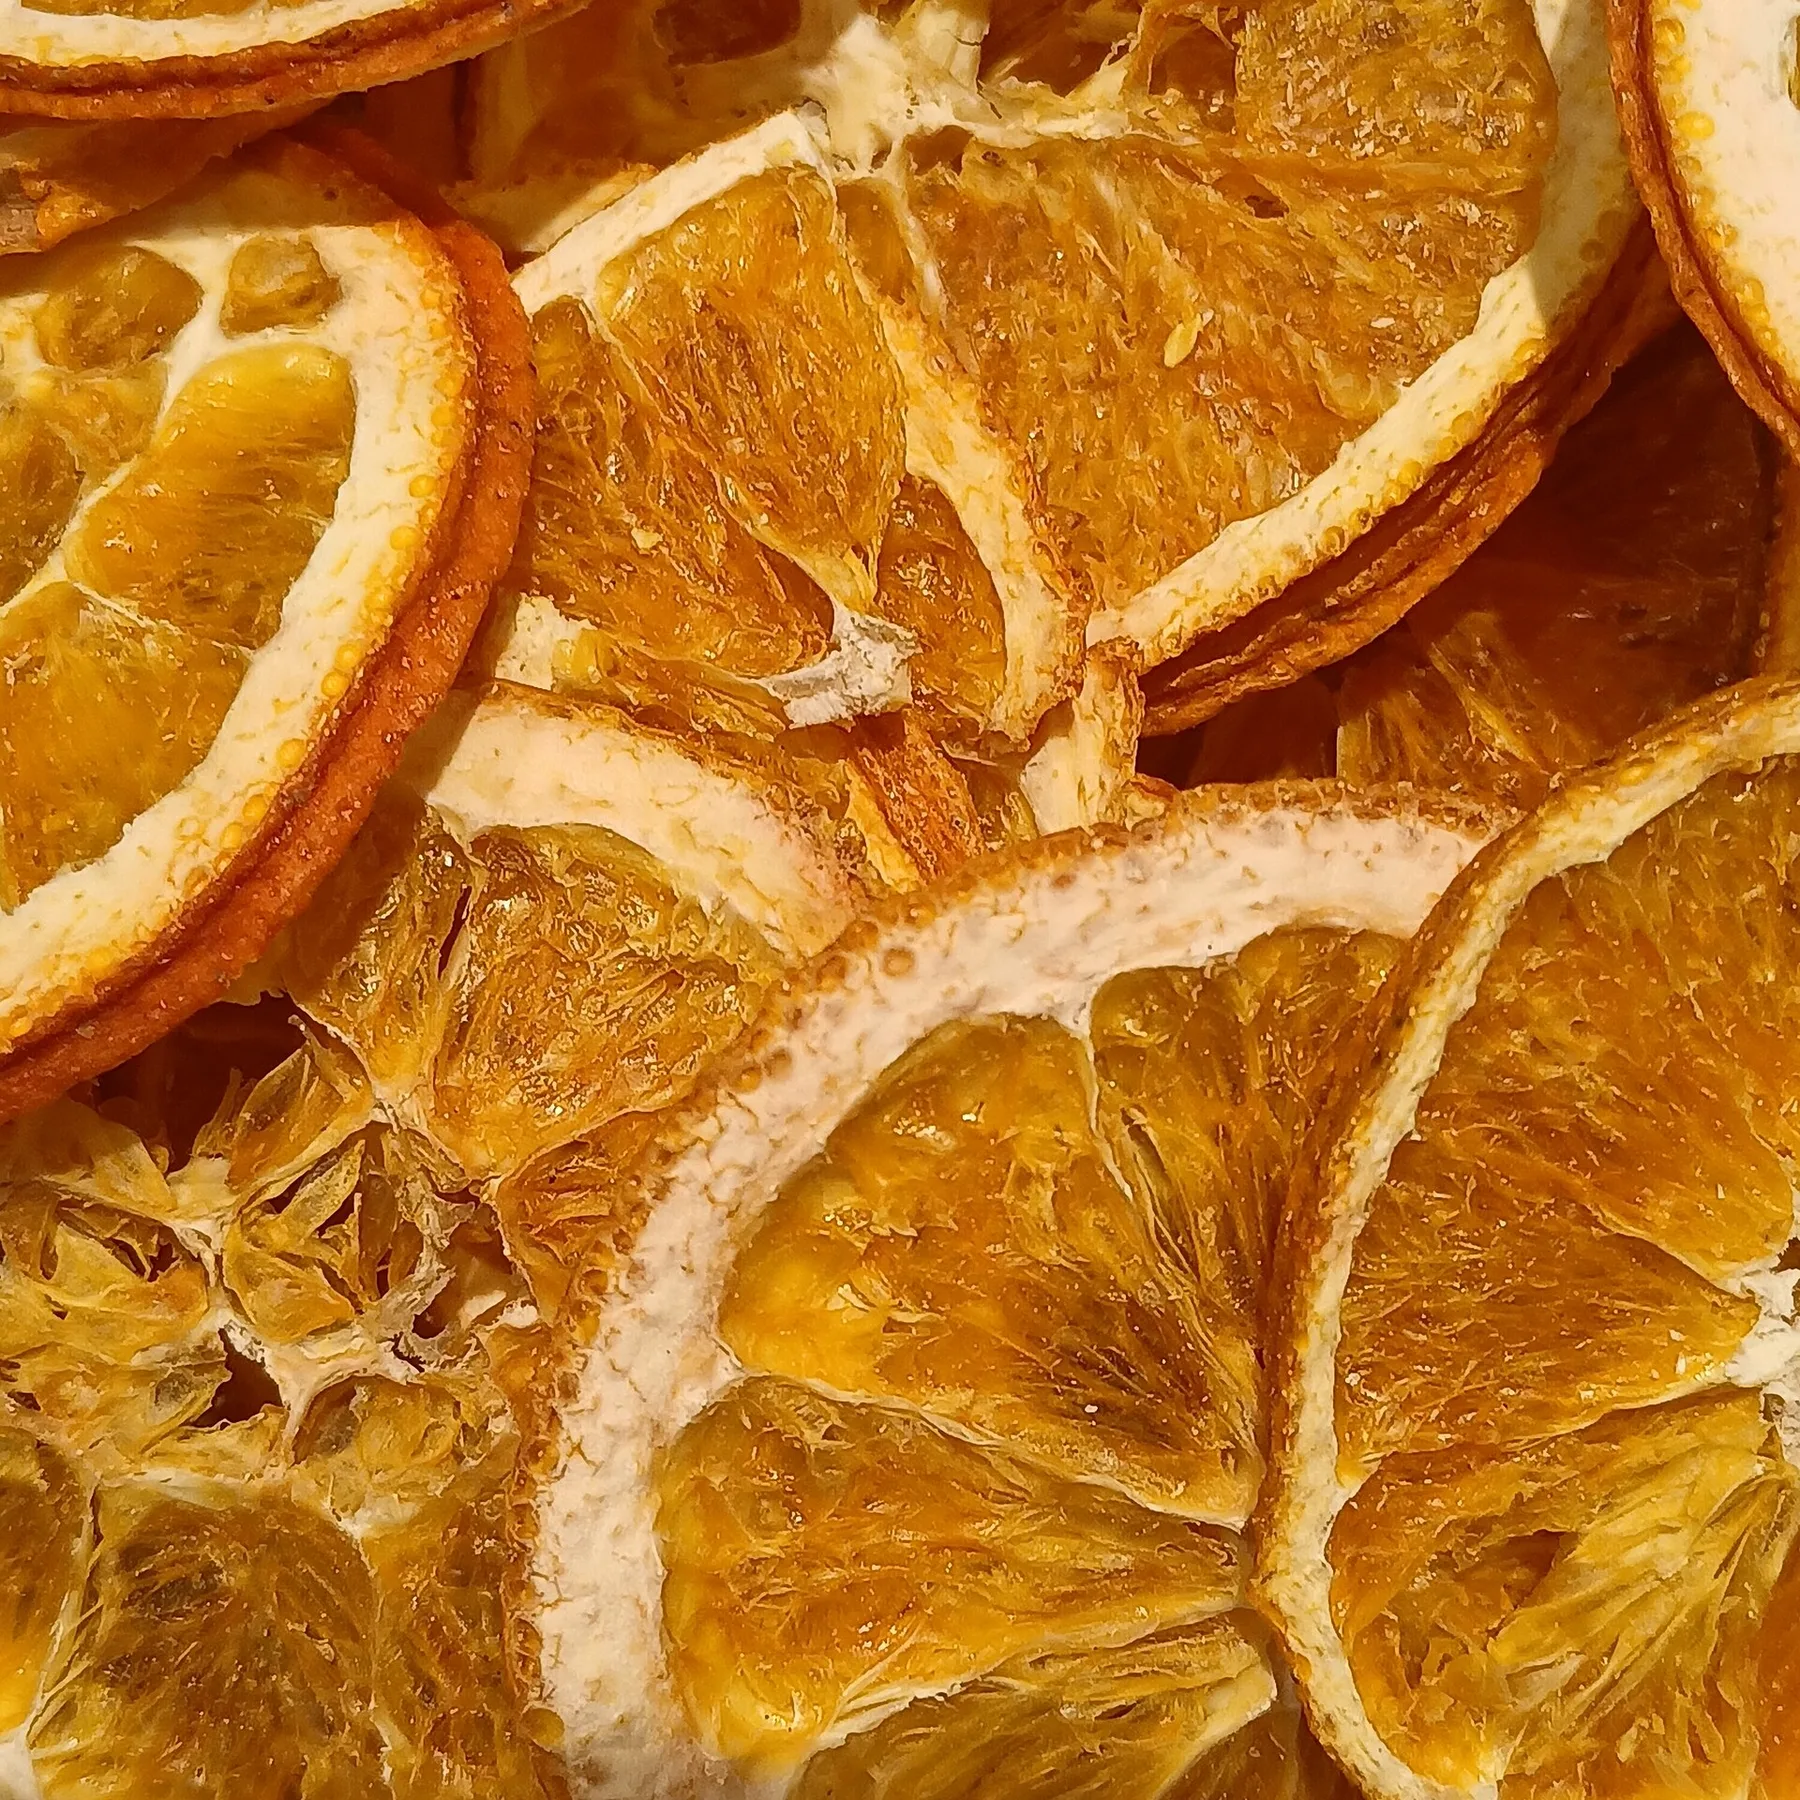
Short answer
Cut oranges into even slices about 2–3 mm thick, blot off the juice and dry them in the oven on low heat. Let the slices cool and check that they are dry all the way through, even in the middle, before you thread them onto string. Feel free to split the craft over two days – a grown-up handles the knife and the oven, while the kids plan the pattern and help with the threading.
What you need
- 2–3 oranges for a trial batch
- Knife and cutting board, used by an adult
- Kitchen paper or a clean kitchen towel
- Baking tray with baking paper, or an oven rack with a suitable liner underneath
- String, scissors and a needle that suits the thread
Step by step
-
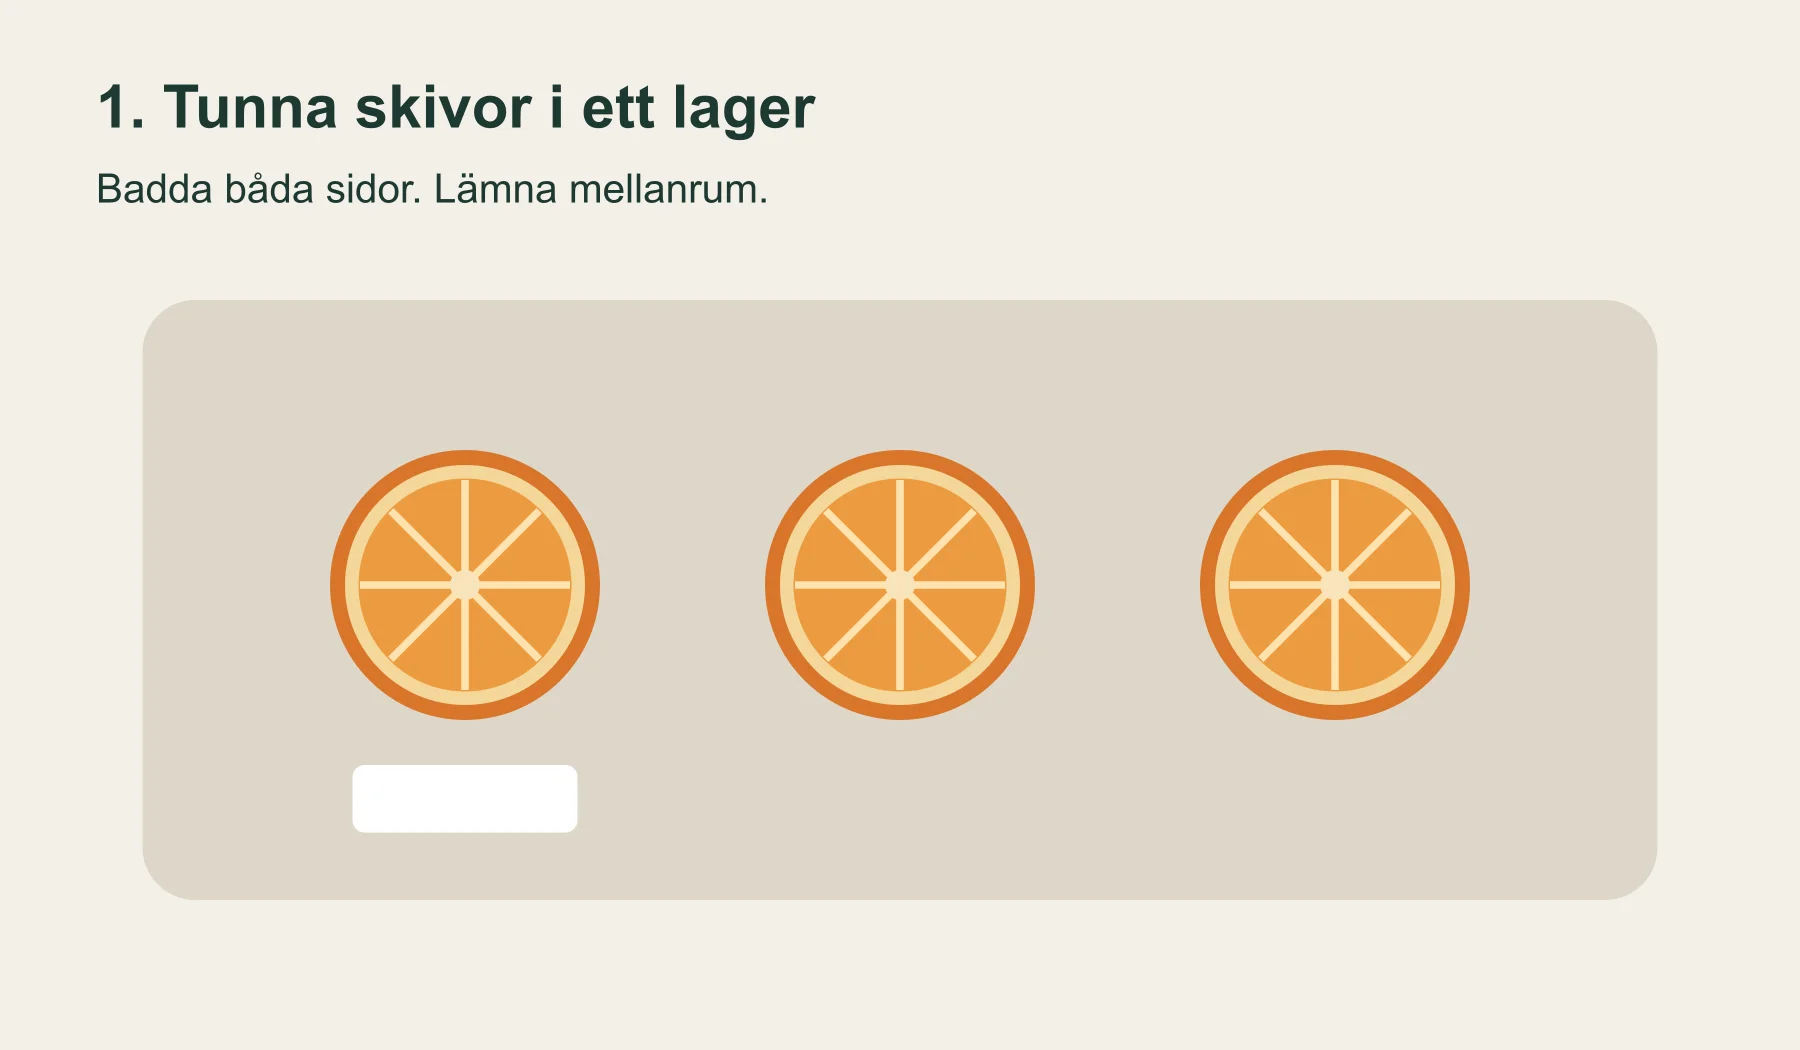
1. An adult cuts even slices about 2–3 mm thick. Blot the slices on both sides and lay them in a single layer without overlapping.
-
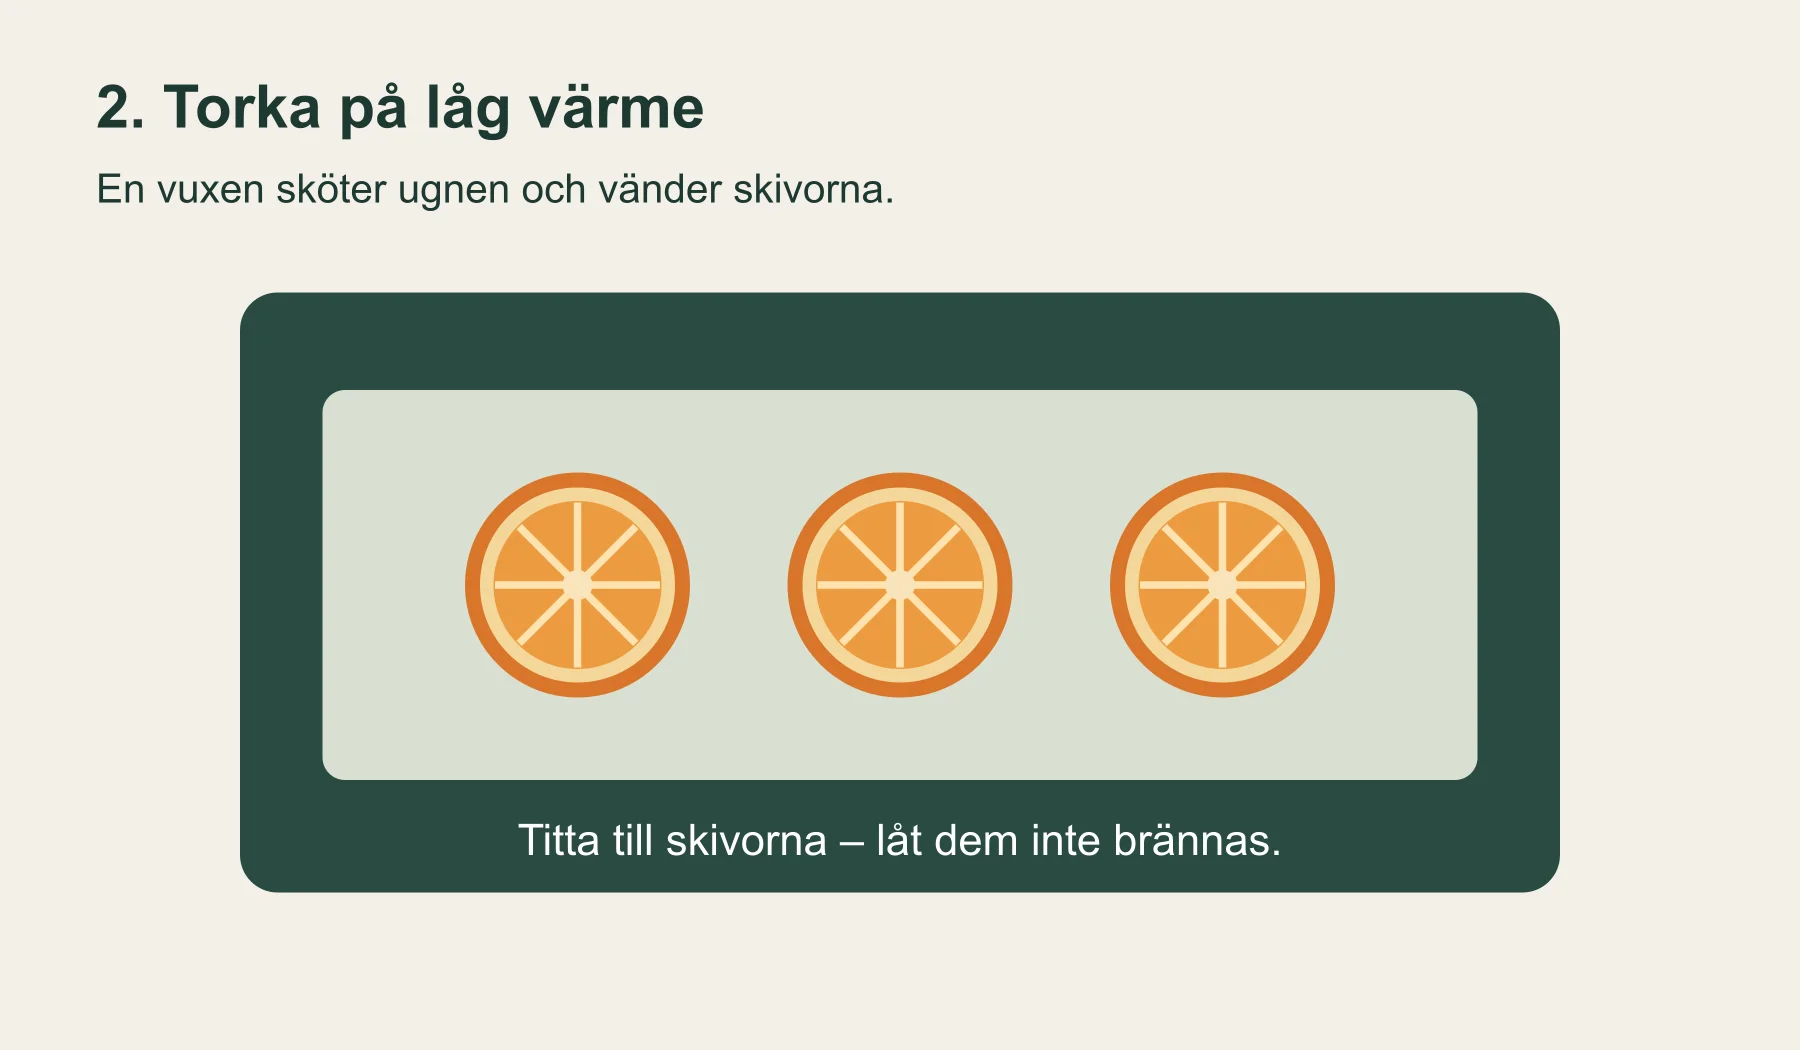
2. Dry them in the middle of the oven at 80 degrees (fan setting). Start checking after 3 hours; turn the slices over during drying.
-
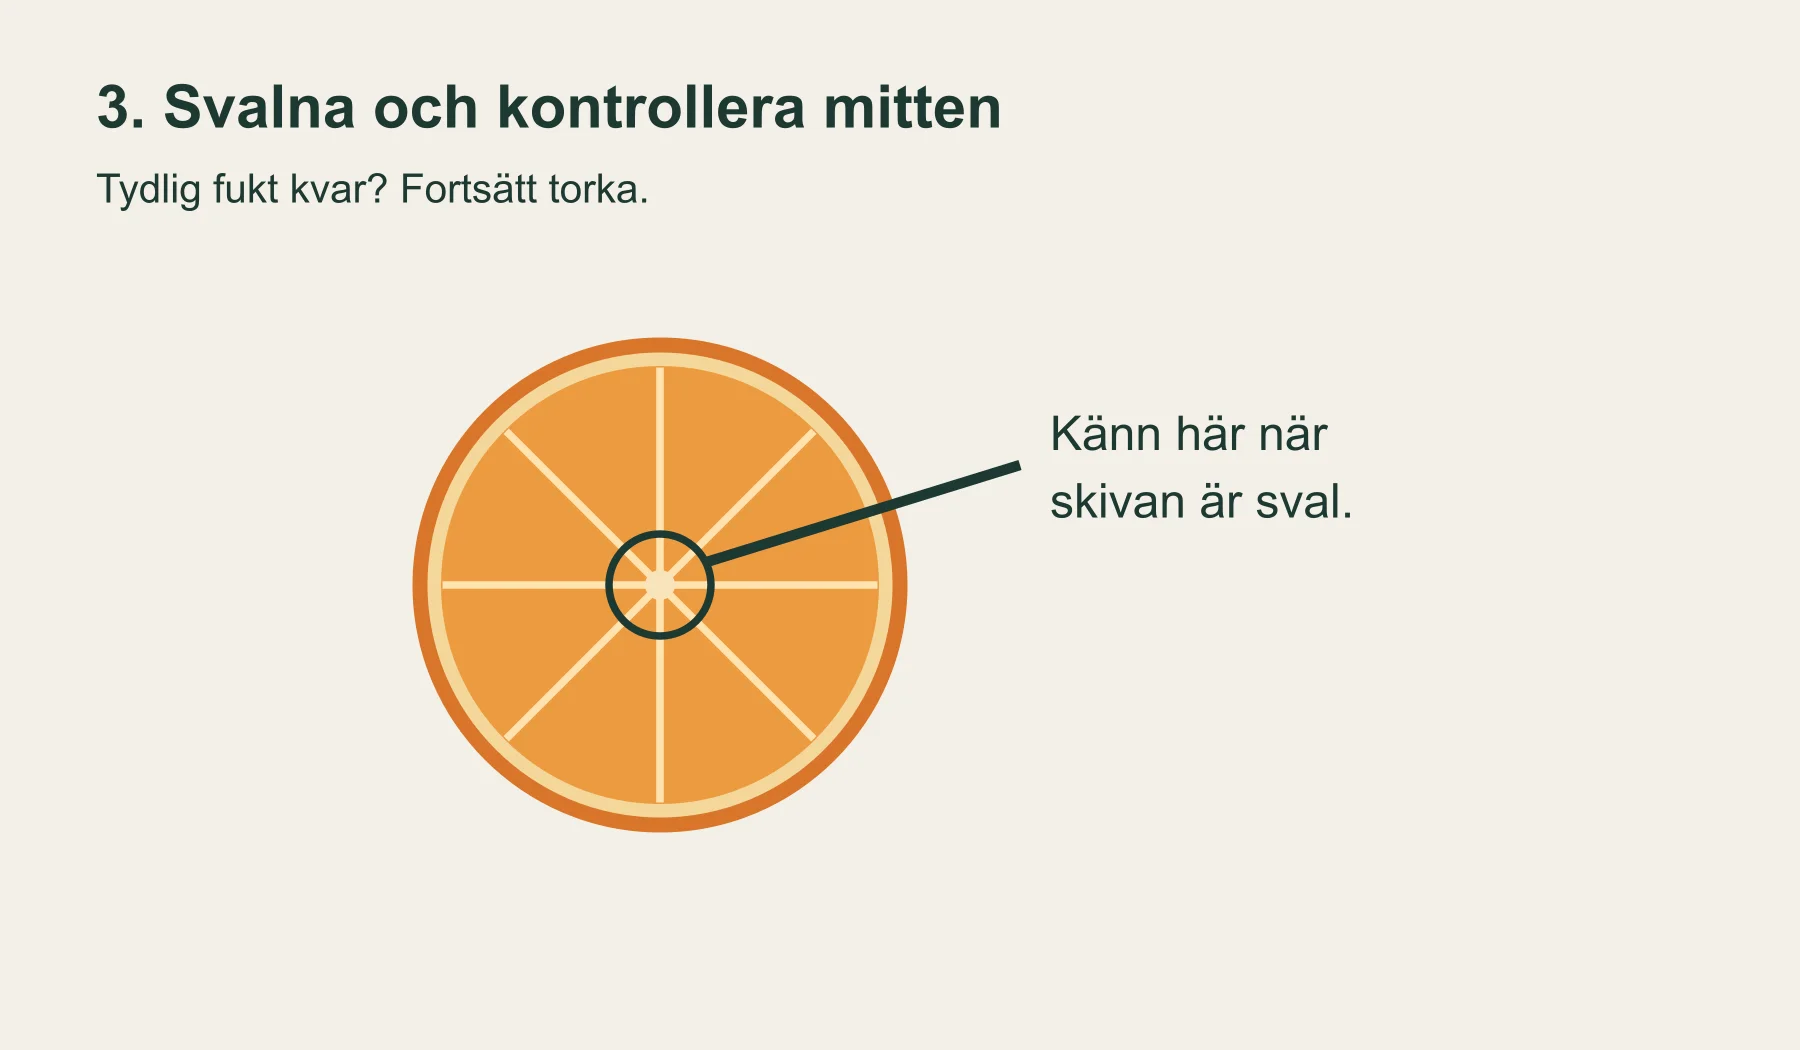
3. Let one slice cool and check the middle. Keep drying if it feels damp. Let the whole batch cool before threading.
-
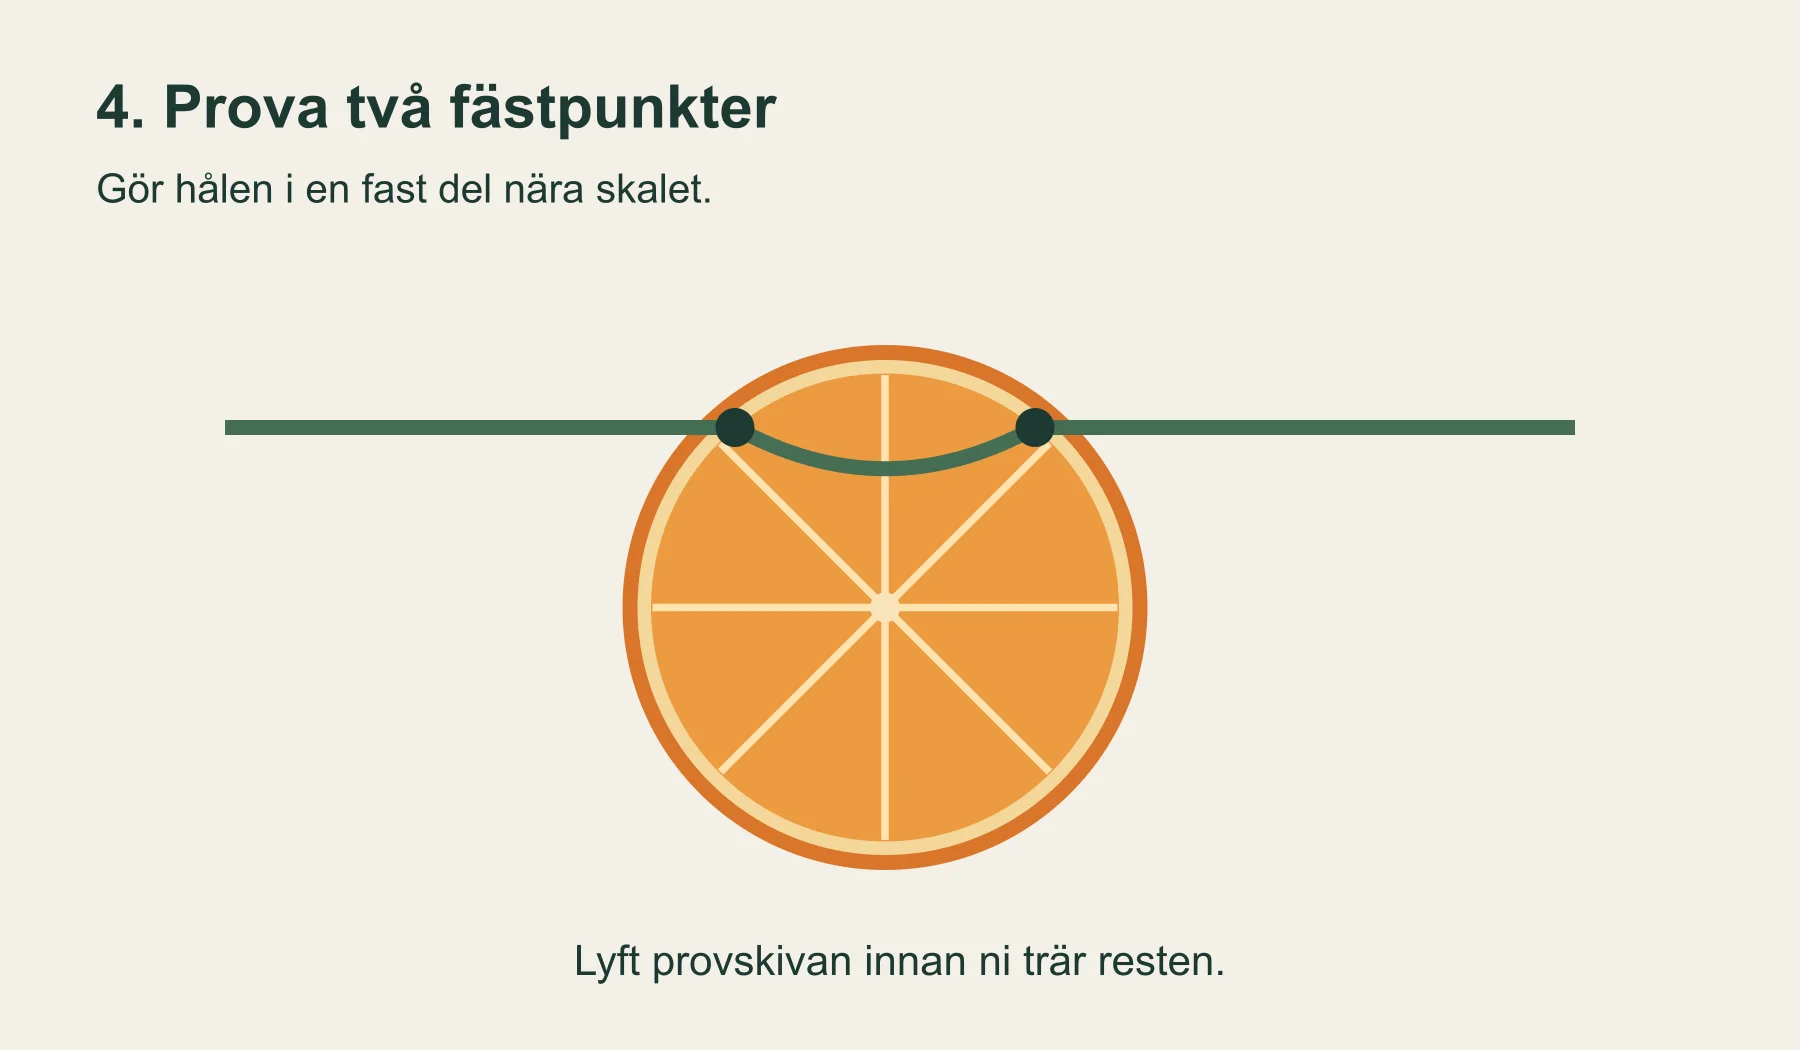
4. Lay out the garland's pattern on the table. Make two small holes near the peel of a test slice and thread the string through both.
-
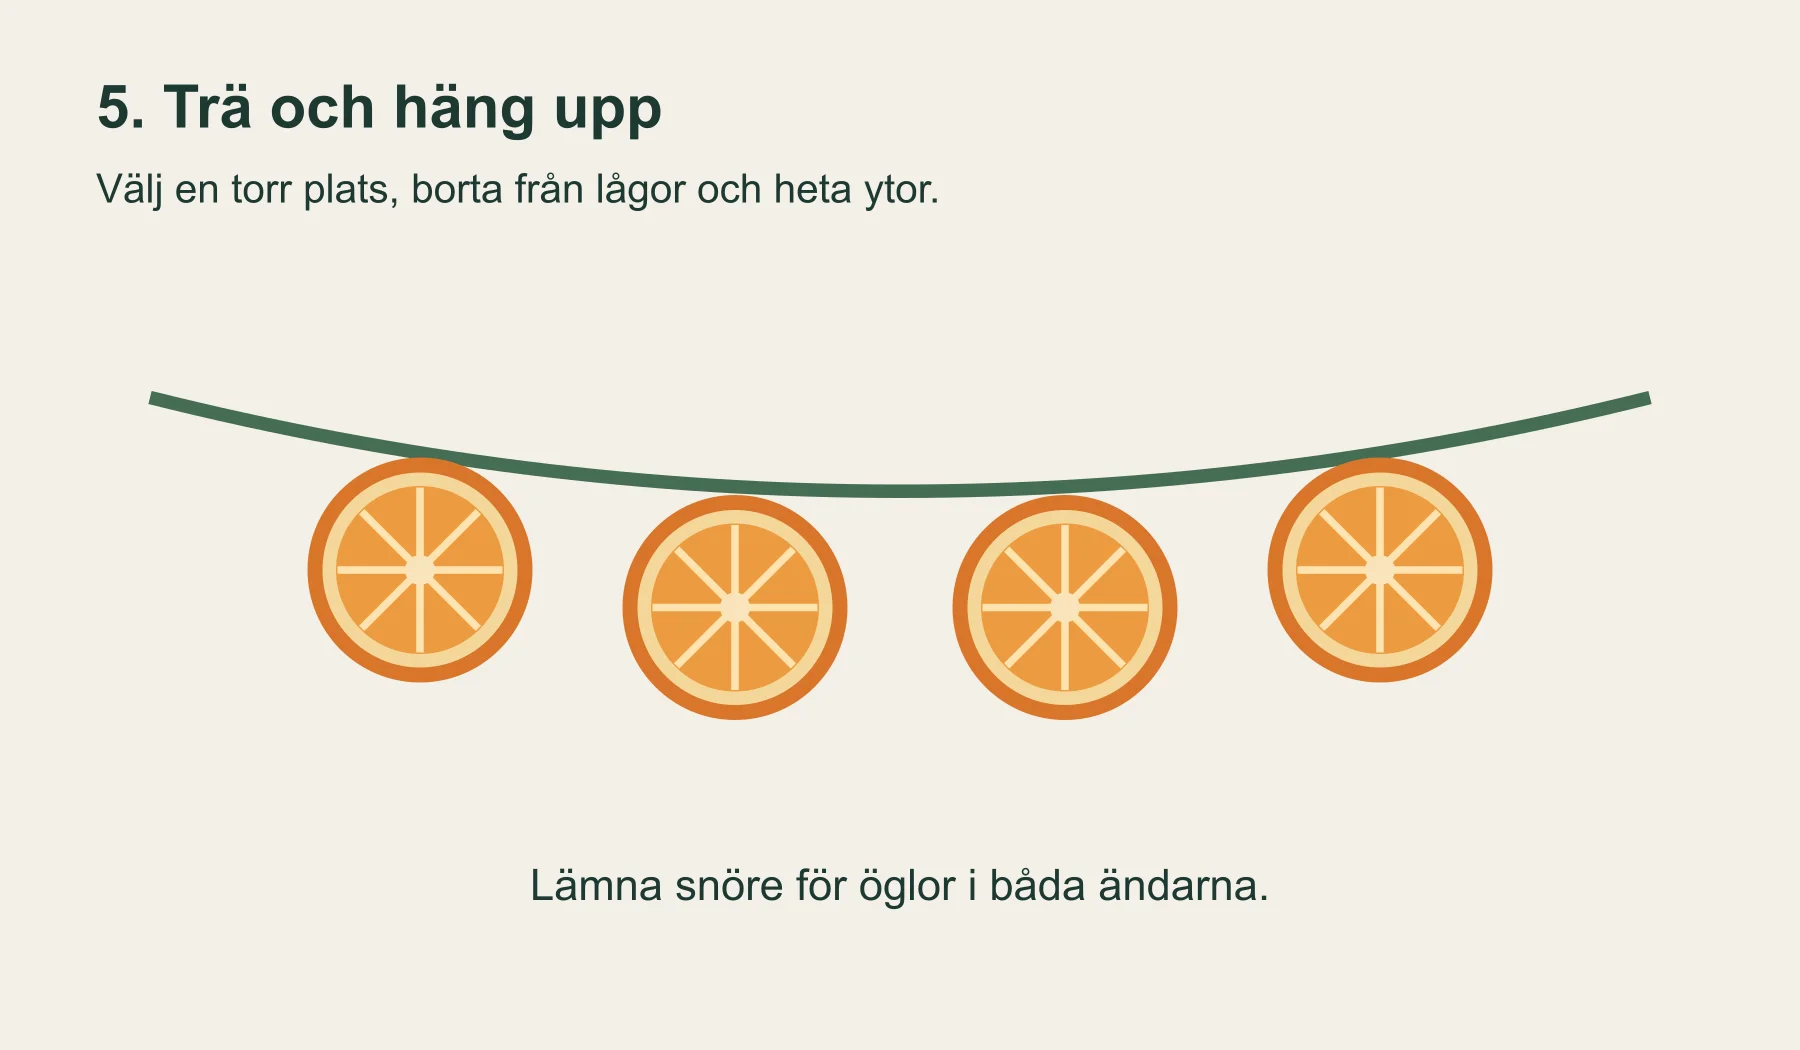
5. Thread the rest, leave string at the ends and hang the garland in a dry spot far from flames and hot objects.
An orange garland starts in the kitchen and ends up as a Christmas decoration. Once the slices are dry, you can lay them out in long rows on the table, move the colours around and decide how close together they should sit. That is where the kids can make the garland their own.
But don't plan a whole afternoon where everyone is just waiting for the oven. Split the work into two sessions: slice and dry first, thread once the slices have gone cold. That way the drying time becomes a break between steps, and you can do something else from our christmas activities for the family in the meantime.
Start with a small batch
Take two or three oranges for the first try, string and a baking tray. That is enough to see how your oven dries the fruit and how you want to thread the slices. As a first estimate for how much material you need, count on about 8–9 usable slices per orange. Two oranges then give roughly 16–18 slices; end pieces and slices that break reduce the number.
Choose oranges that can be sliced without falling apart. Set aside any fruit with mould or damaged, soft patches. The slices are decorations, not food – it's nice to have a fresh orange to share while you work.
An adult takes care of the knife and the oven. The kids can help with blotting, laying the slices out and choosing the order. Adapt the needle and scissors to whoever is using them; the child who needs help with threading can instead be the one who hands over the next slice. The same idea works when you make a star made of sticks: not everyone has to do the same step to be part of it.
Slice evenly and blot off the juice
Cut across the orange so the slices get their round pattern. Aim for about Slices 2–3 mm thick. A thick middle takes longer to dry than a thin edge, and if the difference is big, the edge can darken before the middle is done.
Lay the slices on kitchen paper or a clean kitchen towel and blot gently on both sides. Don't press so hard that the fruit flesh breaks apart. Then move them to the tray in a single layer, with air between the slices. A slice lying on top of another dries under different conditions.
Let the kids arrange the next batch on a cold tray while the adult slices. The hot tray and the oven stay with the adult. If you want to make more decorations over the same craft weekend, a advent candle holder made from natural materials can be a separate project, with the decorations kept clearly apart from the candles.
Dry slowly and check the middle
Set the oven to 80 degrees, fan oven and put the rack with baking paper in the middle of the oven. Lay the slices in a single layer. Start checking after 3 hours; thin slices often need about 3–3.5 hours. Thicker or juicier slices should dry for longer.
Have an adult turn the slices during drying and check how they look on both sides. If they start to darken quickly, the heat needs to be turned down. The goal is to dry the fruit, not to brown it. Keep the door closed and use the oven's fan setting throughout the drying.
Take out a slice and let it cool before you judge it. Feel the middle in particular. If there is still clear moisture there, it needs more drying, even if the peel feels done. Do the same check on the thickest slices in the batch. A timer tells you when it's time to look at the tray; it doesn't decide when the fruit is dry.
The drying time can fit between two of the day's December activities. Put the threading in a gap in your homemade Advent calendars, or let the tray cool while you do one of our advent outings. Turn off the oven before you leave the house.
Try one slice before threading the whole row
First lay the cool slices out on the table. Do you want a dense row, big gaps or a few small groups? Try the order without string. A short garland over a narrow shelf can be easier to put together than a long one that has to stretch across the whole room.
For a row where the fronts of the slices should show, you can make two small holes near the peel and pass the string through both. Choose a solid part of the slice and keep the holes a bit away from the outer edge. Start with a single test slice and lift the string. That way you can see how the slice hangs before everyone has threaded theirs.
If the edge cracks, move the attachment point further in and carefully try another slice. Don't pull harder at a hole that is already about to break. An adult can make the holes and help with the needle while the child chooses the next slice. Leave enough string at the ends for hanging before you cut it off.
Hang it up and see how it looks in the light
A window makes the pattern of the slices easy to see, but choose a dry spot where they don't rest against damp glass. Keep the garland away from candles, open flames and hot surfaces. No candle is needed inside the decoration itself.
Use the slices as a colour accent of their own instead of adding lots of different materials. If you have already built a gingerbread house, the garland can hang nearby, on its own hanger. Or let it be a backdrop when the family gathers for lucia at home.
Store finished decorations somewhere dry and airy. Don't hang up damp slices and don't shut them up warm in an airtight tin. If a slice later gets mould, remove it; don't try to hide it with more decorations.
When things don't turn out as planned
Dark edges and a damp middle: the slices may have been uneven or the heat too high. Carry on more carefully with lower heat and cut the next batch more evenly. Not every slice has to end up usable.
The slice breaks at the hole: change the attachment point or the slice. That is better than pulling the string tight until more of the fruit flesh cracks.
The kids lose patience: put the rest aside. A single row can be enough for the day's craft, and dry slices can be threaded another time. If you'd like to finish with a fika, there are both gingerbread biscuits and lussekatter as projects of their own once the oven is free again.
Frequently asked questions
How long do the orange slices need to dry?
Count on several hours. At 80 degrees (fan oven), thin slices take about 3–3.5 hours, but thickness and oven affect the time. Let a slice cool and check the middle; a damp centre needs more drying.
Do you have to make the garland on the same day?
No. Slice and dry first, and let the kids join in threading the next day. Don't store the slices tightly sealed while they are still warm or damp.
How do you thread a slice without it turning on its edge?
Make two small holes in the solid part near the peel and pass the string through both. Thread a test slice first so it hangs the way you want before you continue with the rest.
Can kids make the whole orange garland themselves?
An adult handles the slicing, the oven and sharp tools. The kids can blot the slices, lay out the pattern and help with threading when the materials and tools suit their abilities.