How to master fire in the wilderness
Mastering lighting a fire is one of the most fundamental skills in outdoor life, bushcraft and adventure. It's not just practical survival knowledge – it's a key to warmth, cooking, comfort and safety in nature. Here we gather everything you need to know about wood, fire styles, tinder, safety and our best tips for getting a fire going even under tough conditions.
Cooking over an open fire
Cooking over an open fire is something truly special. It's not just about satisfying hunger – it's an experience in itself. The sound of crackling wood, the scents spreading through the forest and the warmth meeting your cheeks make every meal into something more than just food. For us as a family, this is a way to spend time together, make memories and get to know nature together. We cook everything from simple breakfast porridge to slow-cooked stews in a cast-iron pot, and every dish has its place by the fire.
Success takes a bit of planning. The right equipment helps, especially if you want to cook more than just sausages. A grill, a cast-iron frying pan or a simple tripod for hanging the pot over the fire makes a big difference. The fire should have a good bed of embers before you start cooking – it gives even heat and reduces the risk of burning the food.
And don't forget the kids! Getting to help whittle sticks, flip pancakes or fill a foil parcel is both fun and educational for them.

Fire
Our best friend in the wilderness
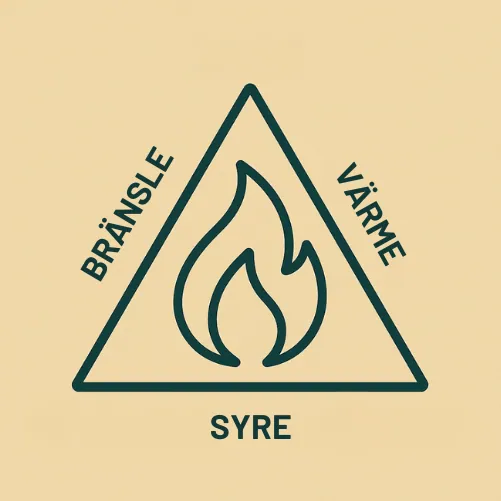
A fire is so much more than just a flame. It gives warmth, light, safety and atmosphere. To make a fire safely and effectively, it's important to understand what's called the fire triangle – the interplay between oxygen, heat and fuel. If one of these is missing, the fire will go out.
When we build our fire pits out in nature, we're careful to choose the right spot. We avoid making fire directly on rocks, since the heat can crack the stone. Instead, we build the fire pit with a layer of gravel or sand at the bottom, often framed by stones that we later put back to avoid leaving traces.
The Right of Public Access

Gives us the freedom to roam almost anywhere, but with that comes responsibility too. Breaking branches from living trees is forbidden. Use dry branches you find on the ground instead. And always check whether a fire ban is in effect before you light up.
Fire is our friend, but only if we treat it with respect.
Different types of fire
And when you use them
Not all fires are created equal. Depending on what we want to do – boil coffee, cook a stew, get warm fast or build embers – we choose different fire styles. Here are a few we use often:
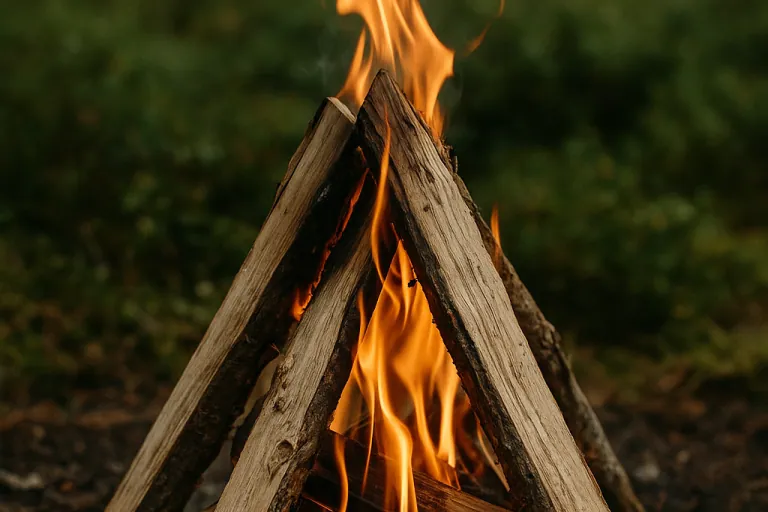
Pyramid fire
The classic. You lean logs against each other so they form a cone. It's easy to light and gives quick heat, but burns out fairly fast.
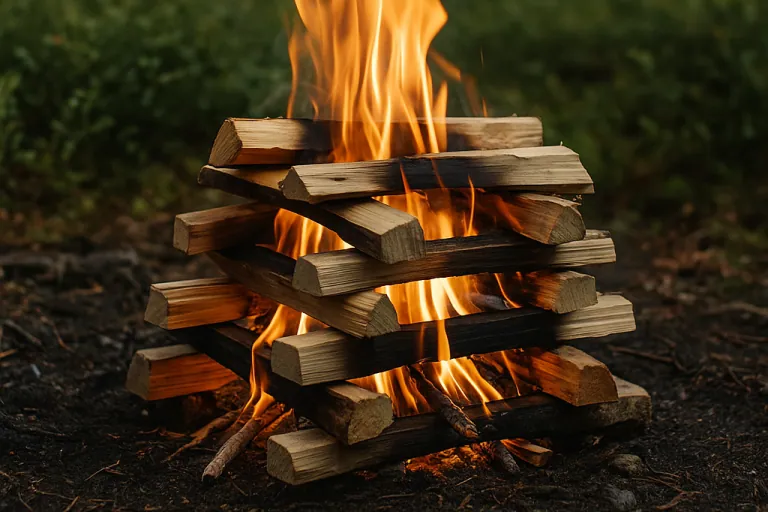
Pagoda fire
Our favorite for cooking. Logs are stacked crosswise in layers – like a pagoda roof. The result is a stable, controlled fire that burns for a long time and gives nice embers.
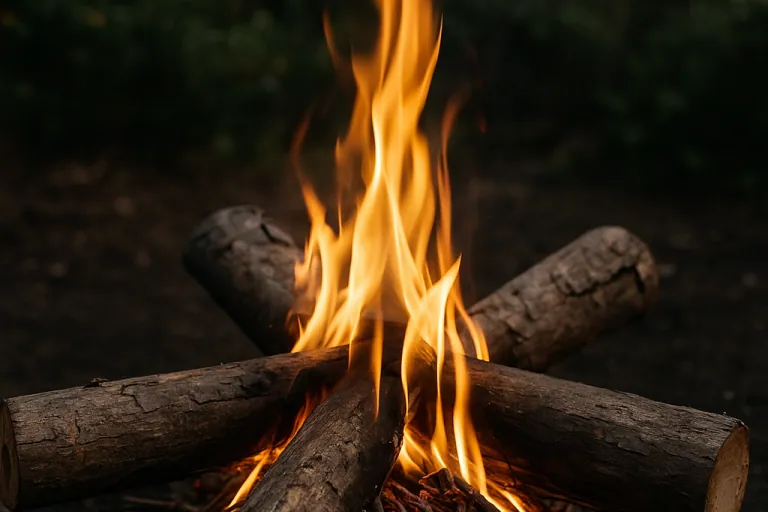
Star fire
Made up of three to five logs pointing in toward the center. As the tips burn, you just push in more wood. Very wood-efficient and effective!
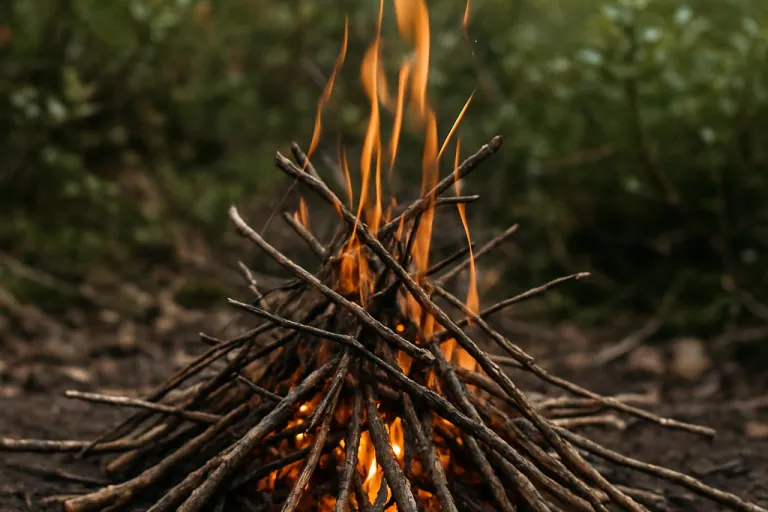
Twig fire
(Or coffee fire) is made from small sticks and twigs. It burns fast and is perfect when you just want to heat water quickly.
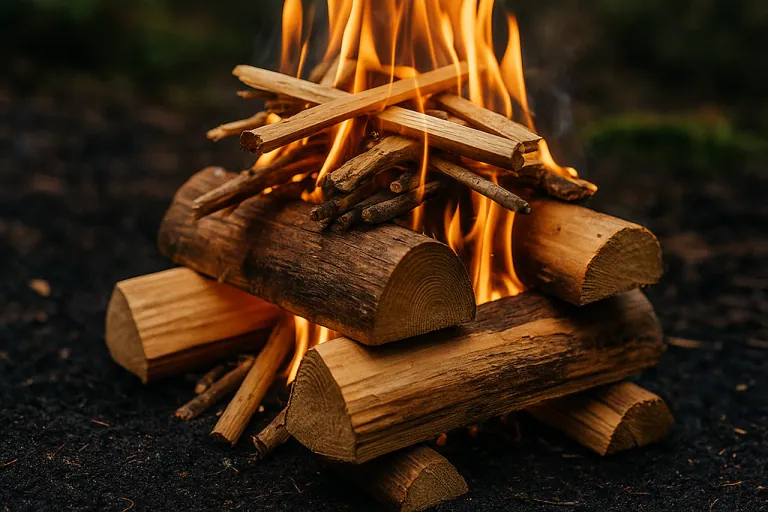
Upside-down fire
Stacked the opposite way – thick wood at the bottom, small at the top. You light it at the top and let the fire work its way down. Good when the ground is damp or snow-covered.
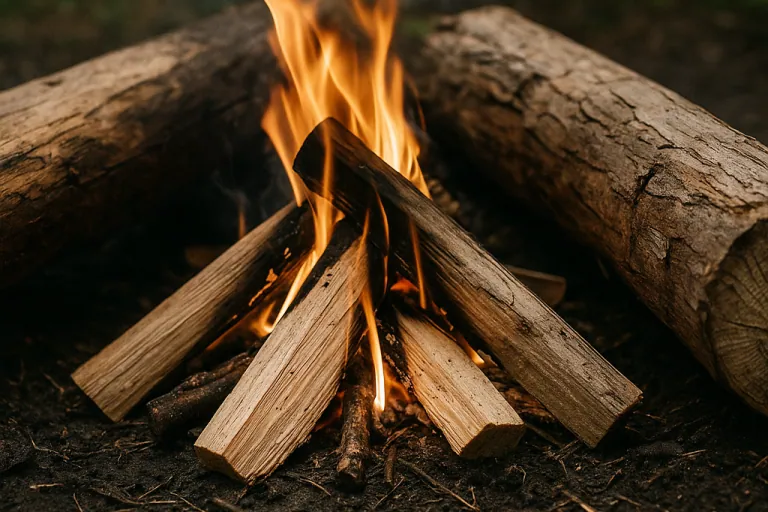
Hunter's fire
We build this from two parallel logs, with the fire between them. Protects against wind and gives directed heat – perfect for cooking with a pan.
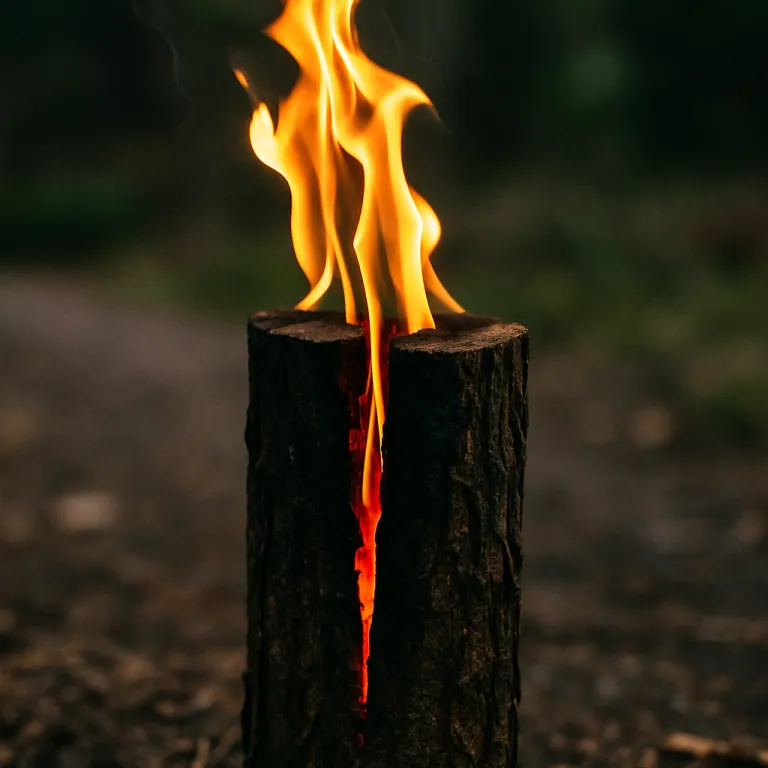
Blowtorch fire
Or "log-candle fire" is built by cutting grooves into a stump or bundling logs together. Burns like a torch and gives good support for heavier pots.
Wood
Choosing, splitting and burning wood the right way
Not all types of wood burn the same – and understanding the difference can be crucial when you're making a fire out in nature. Some types of wood give a lot of heat and long ember time, while others crackle, smoke or burn fast but short.
- Birch is our favorite. It's easy to find, easy to split and burns with a stable, even flame. Its bark is also a superb natural fire starter – great to carry a few pieces of in your backpack.
- Pine, or fir, contains more resin and can crackle and smoke, but it burns fast and hot. Resin-rich wood from dry tops and stumps is called fatwood – a really good alternative to fire starters.
- Spruce has a lower energy value and burns less efficiently. It also throws off a lot of sparks. Spruce works best combined with other types of wood.
- Oak, beech and ash are among the hardwoods that burn long and hot – perfect for longer cooking or keeping warm for a long time. However, they can be hard to get going if they're fresh.
Is the wood damp or fresh? You can still make a fire – but it takes more prep work. Split the wood to reach the drier core, mix with dry tinder and build the fire loosely for airflow. The heat from the fire also helps dry out new wood placed nearby.
Splitting wood the right way is also an art. Straight wood without knots is easiest. Use a good long-handled axe for heavier jobs and a smaller axe or knife for whittling. Batoning – splitting wood with a knife by striking it with a wooden mallet – is a good option when you don't want to carry a big axe.
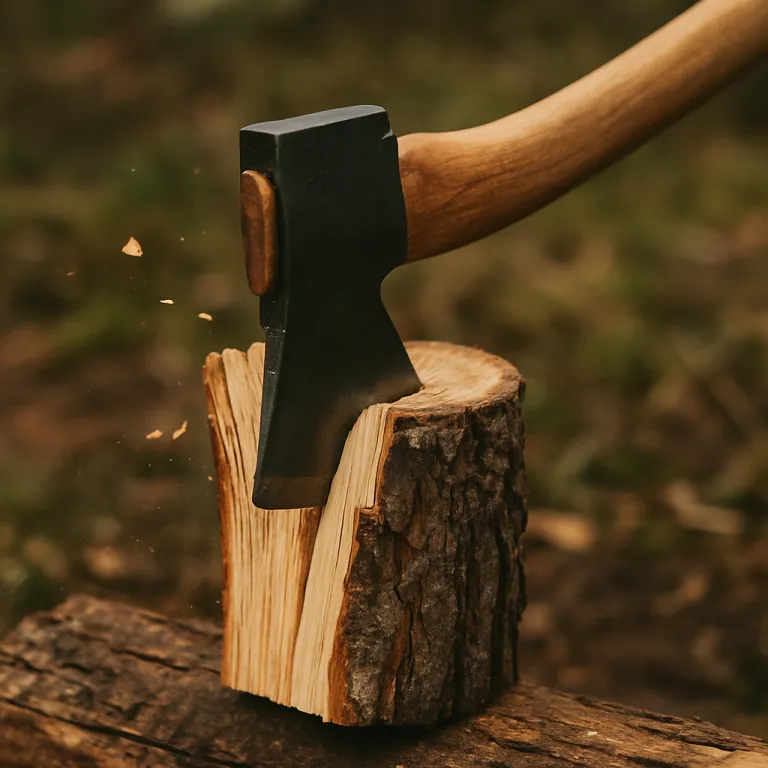
Here are four safe techniques for splitting wood:
- On a chopping block – the classic method with an axe
- Against the axe – wedge the axe into the log and strike it against a stump
- With a knife (batoning) – good for smaller wood and dry wood
- Flat splitting – strike the axe into wood lying flat, safe for beginners and kids
With the right technique, the right wood and a safe approach, you'll get far – both when starting a fire and when keeping it going.
Lighting a fire – from the first spark to crackling flames
Once you've chosen your spot, gathered wood and built a fire pit, the decisive moment comes: getting it lit. This is where everything falls into place – and it's also where things sometimes go wrong. But with the right preparation, your chances of success are much better than you'd think.
We always start by gathering three kinds of material: tinder, kindling and fuel. Tinder is what catches fire first – birch bark, fine wood shavings, dry grass or prepared paper. Kindling is small twigs, split wood or brushwood – something that carries the spark to bigger wood. Fuel is the logs themselves.
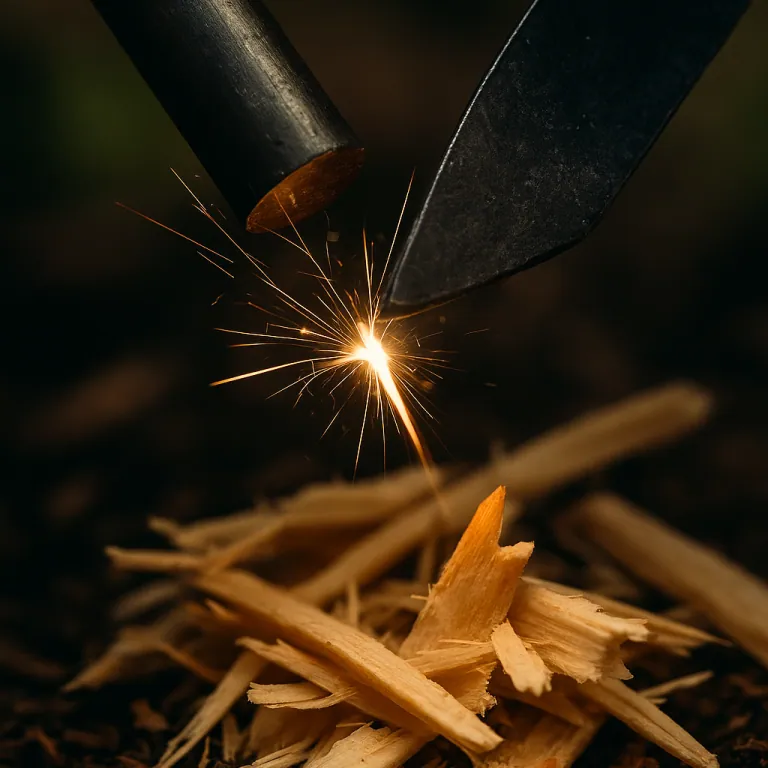
We like using both matches and a ferro rod – but the ferro rod wins in the long run. It's reliable, works in the rain and lasts forever. You can light with birch bark, petroleum-jelly cotton balls, greased toilet paper rolls, or small shavings of dry wood.
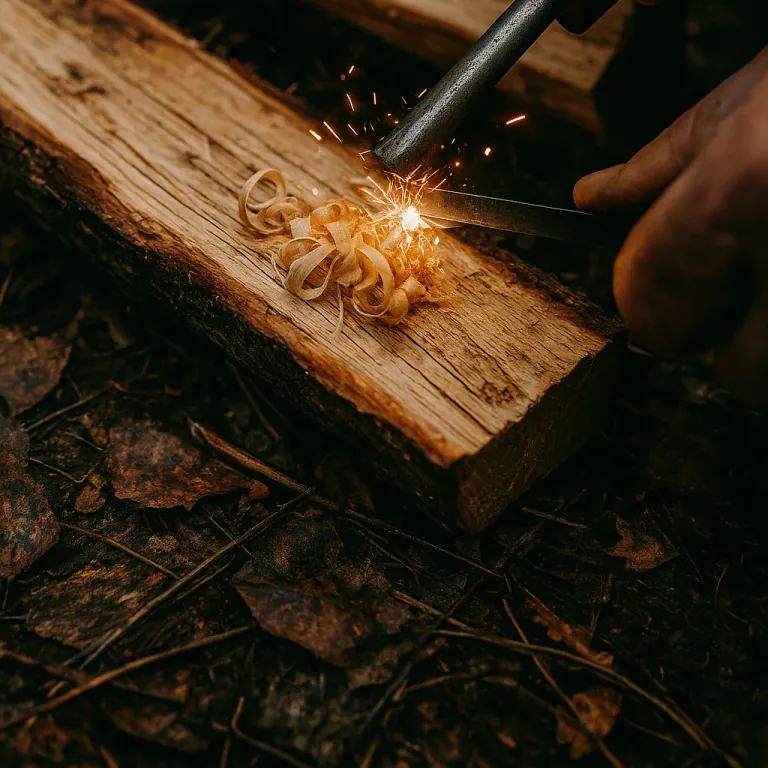
Light it calmly. Don't rush. Let the fire grow, breathe, and feed it with the right wood at the right pace. Then it gives back with warmth, safety and embers for both cooking and togetherness.
When it's wet outside?
Then we split the wood and use the dry inner layers. We build the fire up off the ground if it's snow-covered or wet – often with thicker wood at the bottom. We cover it with a tarp if it's raining. It's about being prepared, understanding the material and adapting to the weather. Then the fire comes.
Keeping the fire alive and putting it out properly
Getting a fire going is one thing – keeping it alive is another. When we have a fire outdoors with the family, it's not just about getting a flame, but about building a steady bed of embers we can cook over and stay warm by for a long time. This takes both patience and a feel for the wood and the fire's rhythm.
Once the fire has caught, you shouldn't add too much too fast. Lay the wood loosely, give the fire oxygen and feed it in small amounts at a time until the embers are stable. A fire that's allowed to grow calmly lasts much longer than one smothered by over-enthusiasm. We usually use medium-sized logs – not too small, not too thick – to get nice, even embers.
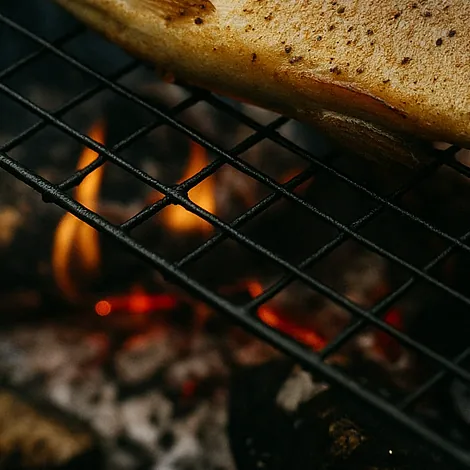
When we burn hardwood, especially birch or beech, we get a warm and stable bed of embers that's perfect for cooking. The embers shouldn't be disturbed too much – let the fire collapse naturally, then spread the embers evenly and start cooking. That gives the best results.
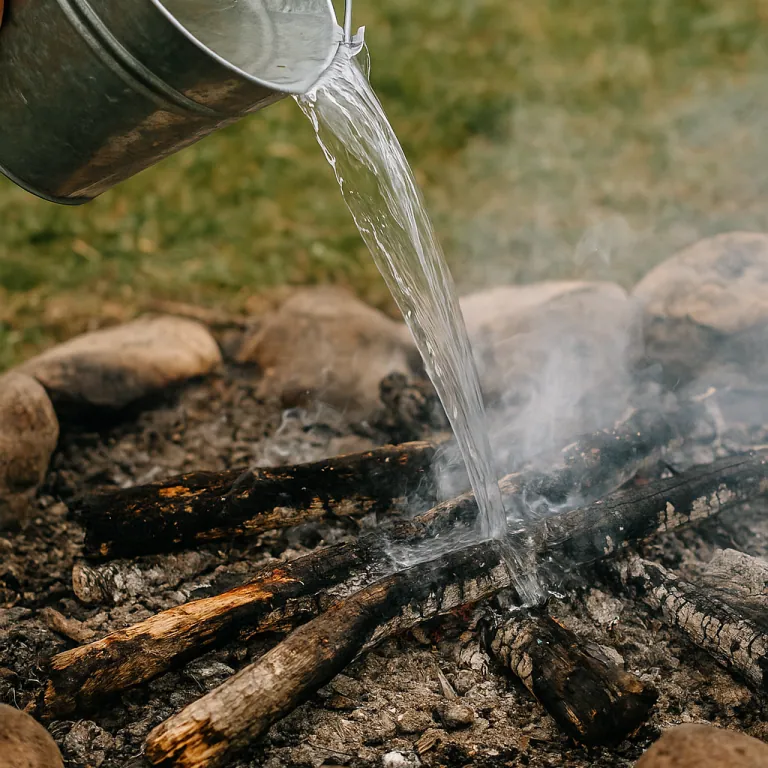
But eventually the fire has to be put out. And it's our responsibility to do it properly. The safest way is with water. We start by spreading out the embers and burning wood across the whole fire pit.
Then we pour on water – generously – until it stops sizzling. After that we stir the ashes with a stick to reach the embers at the bottom. Finally, we hold a hand above the surface. Is it still warm? Then we keep putting it out.
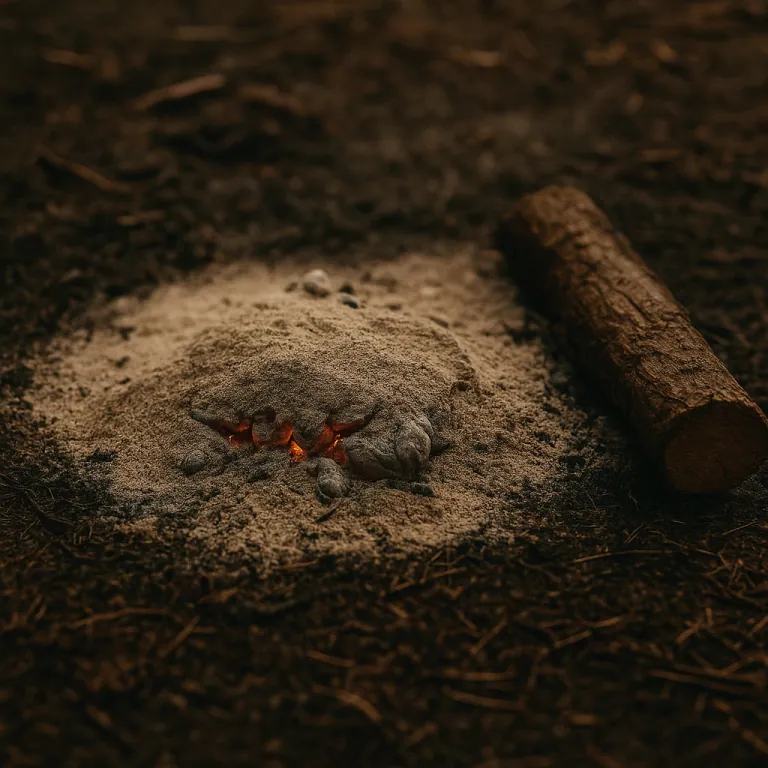
Sometimes – especially when we want to keep embers alive until the next morning – we cover the embers with a layer of ash or sand. But we only do that when we're sleeping right next to it and can keep an eye on it.
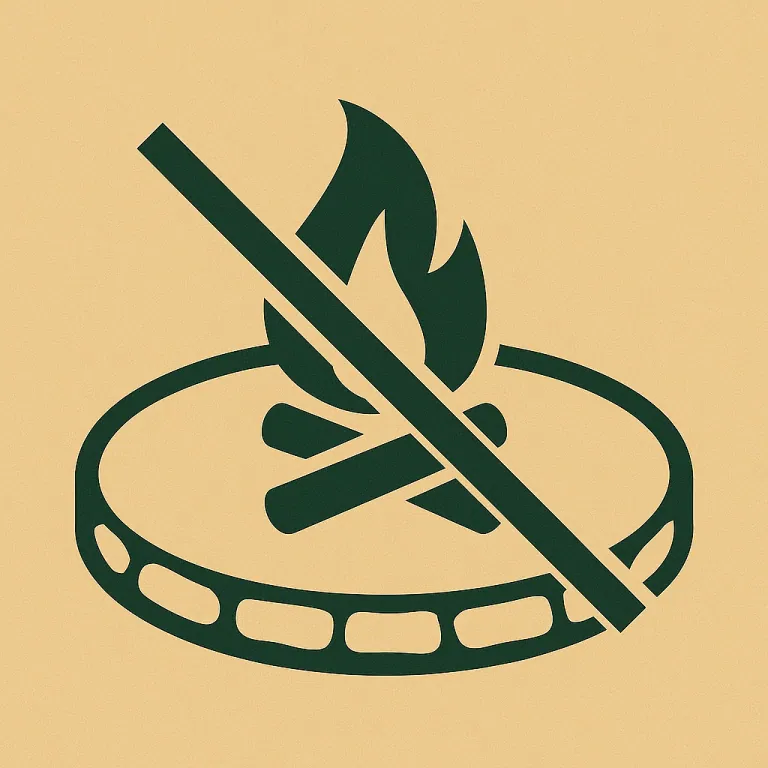
When there's a fire risk, we're extra careful.
We only light fires in prepared fire sites and use small fires with minimal risk of spreading. Is there a fire ban? Then we don't light a fire at all. It's that simple.
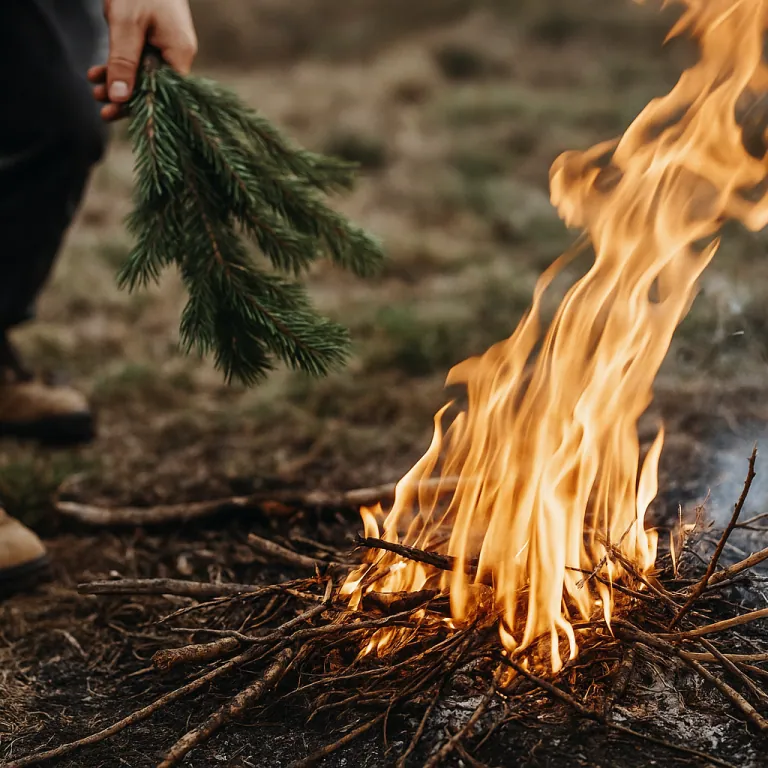
And if the worst happens – if the fire spreads – acting fast is essential.
We always keep spruce branches or a homemade fire whisk ready. We smother the flames methodically and don't beat at the fire – we sweep. Water is always better, but a spruce branch is a classic that works.
Fire is powerful. It gives – but it demands respect. Knowing how to put out a fire is just as important as knowing how to start one.
For more peace of mind on the trail – read our guide on first aid for hiking in Sweden.
Closing thoughts – The power of fire in our adventures
Making fire is something deeply human. Fire is an element that captivates both young and old. It brings us together. It lights up the darkness. It gives warmth, safety – and the chance to create unforgettable meals out in nature. For us, fire isn't just a practical skill – it's part of the adventure.
Over the years we've learned what works, what doesn't, and how to keep the fire alive – literally and figuratively. We hope this guide gives you the knowledge and inspiration you need to dare to try it yourself. It doesn't have to be perfect. What matters is getting outside, gathering branches, bringing a bit of birch bark – and giving it a go.
Want to see how we do it in practice?
On our YouTube channel you'll find plenty of examples, from small coffee fires to big cooking pits. There we show how we make fire, cook and share our outdoor experiences as a family.
See all our fire clips here: YouTube – The Swilderness Family →And if you want to know more about the gear we use, which recipes we cook, or get more tips – click through:
📖 All recipes – sorted by technique
🧰 Equipment tips for fire cooking
Good luck – and let fire become a friend you always want to bring along on your adventures!
Related pages in EldMat
Back to main pages