Short answer
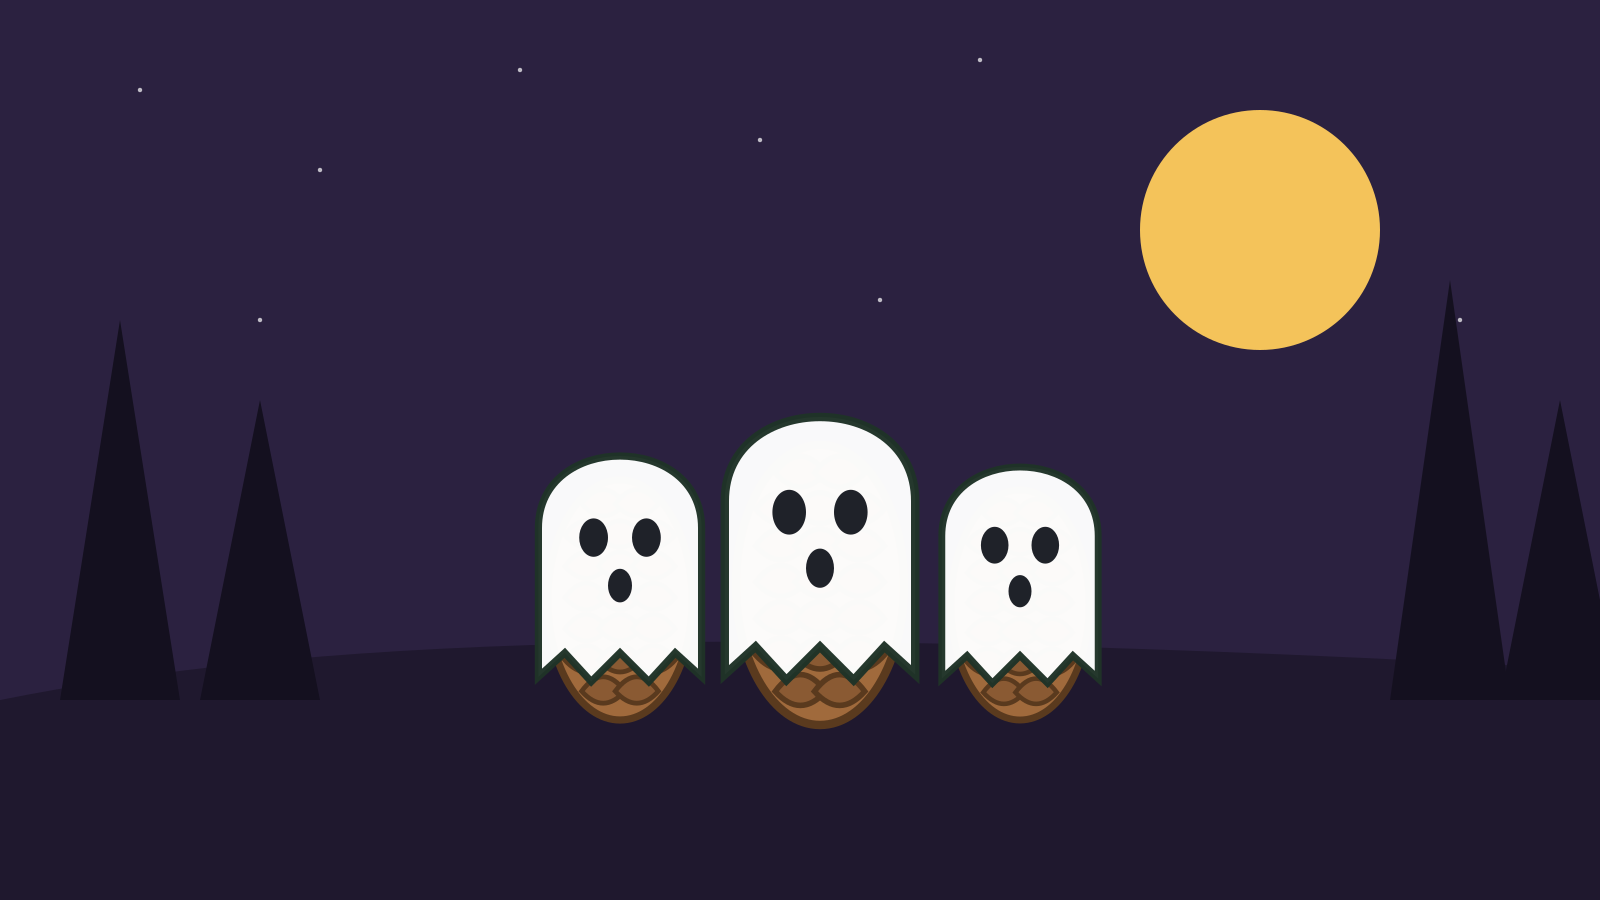
Pick up pine cones lying on the ground during a forest walk and let them dry indoors for a day. Glue a cotton ball on top as a head, lay a piece of white napkin or gauze over it and tie it in place under the head. Draw eyes and a mouth – and a whole ghost family stands on the windowsill. It takes half an hour plus drying time and works from age three.
What you need
- Pine cones lying on the ground, pine or spruce
- Cotton balls (one per ghost)
- White paper napkins, gauze or white fabric
- White sewing thread or thin string
- Glue gun (adult) or craft glue
- Black felt-tip pen or black paper for the eyes
- Scissors
- A basket or bag for the cones
Step by step
-
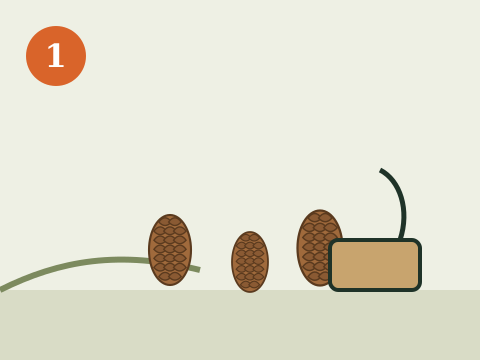
1. Go for a walk in the forest and collect pine cones lying on the ground. Take different sizes – then you get a whole ghost family.
-
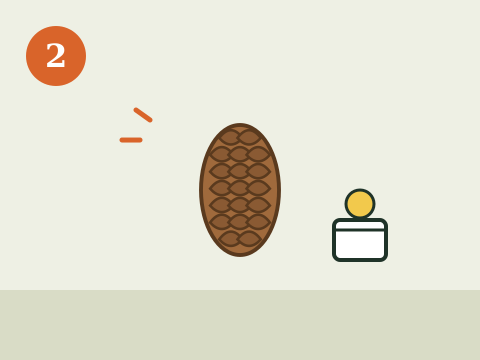
2. Lay the cones on a newspaper indoors for a day. They dry, open up, and any small creepy-crawlies have time to crawl out.
-
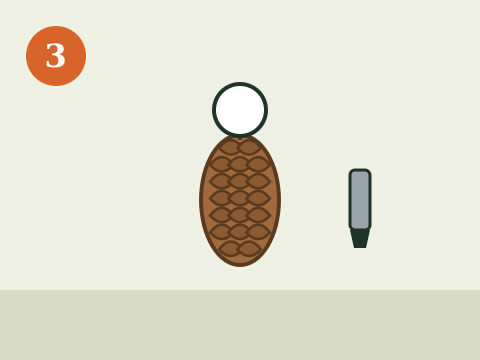
3. Glue a cotton ball on top of the cone as a head. An adult handles the glue gun.
-
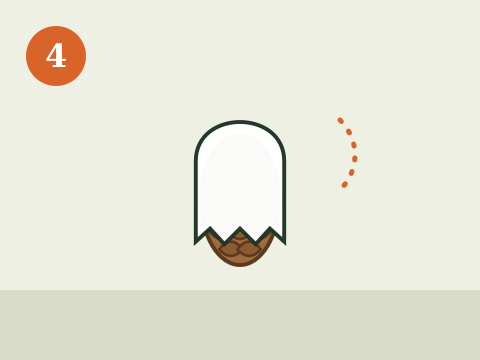
4. Cut a square of white napkin or gauze, lay it over the head and tie it in place with white thread just below the cotton ball.
-
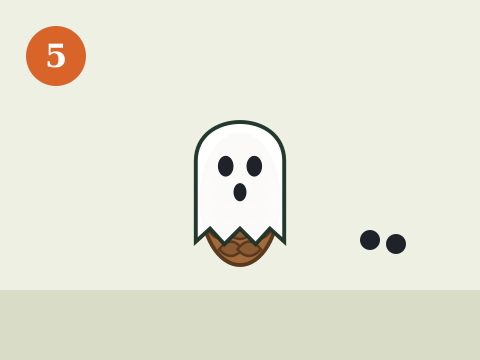
5. Draw two eyes and a round mouth with a black felt-tip pen – or stick on dots of black paper.
-

6. Put the ghost family on the windowsill or the Halloween table – or tie a thread to the head and hang them up.
Pine cone ghosts are the perfect craft for a family that would rather be outdoors than in. It starts with a walk in the forest where the children look for cones – big, small, long and round – and ends with a little ghost family on the windowsill. The materials cost almost nothing, and every ghost is unique because no two cones are alike.
The craft goes nicely with the other Halloween crafts: the bat garland in the window, the ghost lanterns on the table and the pine cone ghosts in between.
Out to look for pine cones
For many children the best part is the hunt for cones. Bring a basket or a cloth bag and walk a loop in the forest or the park. Make it a little competition: who can find the biggest cone, the smallest, the roundest?
Under the Right of Public Access you may take cones, sticks and branches that are already lying on the ground. You may not, however, break off twigs, take bark or pick cones straight from living trees – it damages the trees. It is a good opportunity to talk to the children about what you may and may not do in nature. You can read more about it in our guide to the Right of Public Access.
If you are curious about more ways to be outdoors with children in autumn, you will find ideas among child-friendly activities in nature.
Pine cone or spruce cone?
- Pine cones are small, round and compact. They make chubby little ghosts and are the easiest for the youngest to handle.
- Spruce cones are long and slender. They make long, thin ghosts – perfect as the daddy or mummy ghost in the family.
Mix both, and the ghost family gets different sizes. Cones that have been lying in the rain are closed; they open as they dry indoors.
Let the cones dry first
Lay the cones on a newspaper indoors for a day before you start crafting. It has three advantages: the moisture disappears so the glue sticks, the cones open up and look nicer, and any small creepy-crawlies living in the cone have time to crawl out before they end up in the window. Do not put the cones on a hot radiator – they can crack.
Who does what – children and adults
- Ages 3–5: look for cones, put the napkin over the head and stick on eyes made of black paper.
- Ages 6–9: cut out the capes, tie the thread and draw the faces themselves.
- Age 10 and up: can use the glue gun with an adult beside them and make more advanced variations.
A glue gun gets very hot and the glue burns the skin. Let an adult handle it – or use craft glue and let the ghosts dry overnight.
Variations
- Ghost mobile: tie a thread to each ghost's head and hang them at different lengths under a stick from the forest. It moves when someone walks past.
- Pumpkin cones: paint the cone orange with acrylic paint and add a small green piece of paper as a stalk – then you get pumpkins instead of ghosts.
- Pine cone bat: glue black paper wings onto a dark cone. The wing template is in bat garland.
- Place cards: write the guests' names on small notes and let each pine cone ghost hold a note at Halloween dinner.
Set out the ghost family
The pine cone ghosts look best in a window lit from inside in the evening, ideally next to a carved jack-o'-lantern. Line them up from biggest to smallest, or let them “walk” in a long queue along the windowsill. If you have a ghost lantern with an LED candle, the pine cone ghosts glow nicely in its light – but never put them near real candles, as dry cones and napkins burn easily.
When Halloween is over, put the ghosts in a box with a little newspaper. They last for many years and can get new family members every autumn. More ideas for the spooky night can be found in Halloween with kids.
Frequently asked questions
May you pick pine cones in the forest?
Yes, under the Right of Public Access you may take cones lying on the ground. You may not, however, break off twigs, take bark or pick cones straight from living trees.
Do the cones need to dry before crafting?
It is a good idea to let them lie indoors on a newspaper for a day. That gives any small creepy-crawlies time to crawl out, the moisture disappears and the cones open up and look nicer.
Which glue works best for pine cone ghosts?
A glue gun holds best, but it gets hot and should be handled by an adult. Ordinary craft glue also works if it is allowed to dry properly – tie the cape on with white thread so it stays in place while the glue dries.
What can you use for the ghost's cape?
A white paper napkin, a piece of gauze or a strip of white fabric from an old T-shirt. The napkin is easiest for small children, the gauze looks the most ghostly.
How long do the pine cone ghosts last?
For many years if they are stored somewhere dry. Put them in a box with a little newspaper after Halloween, and they can come out again next autumn.