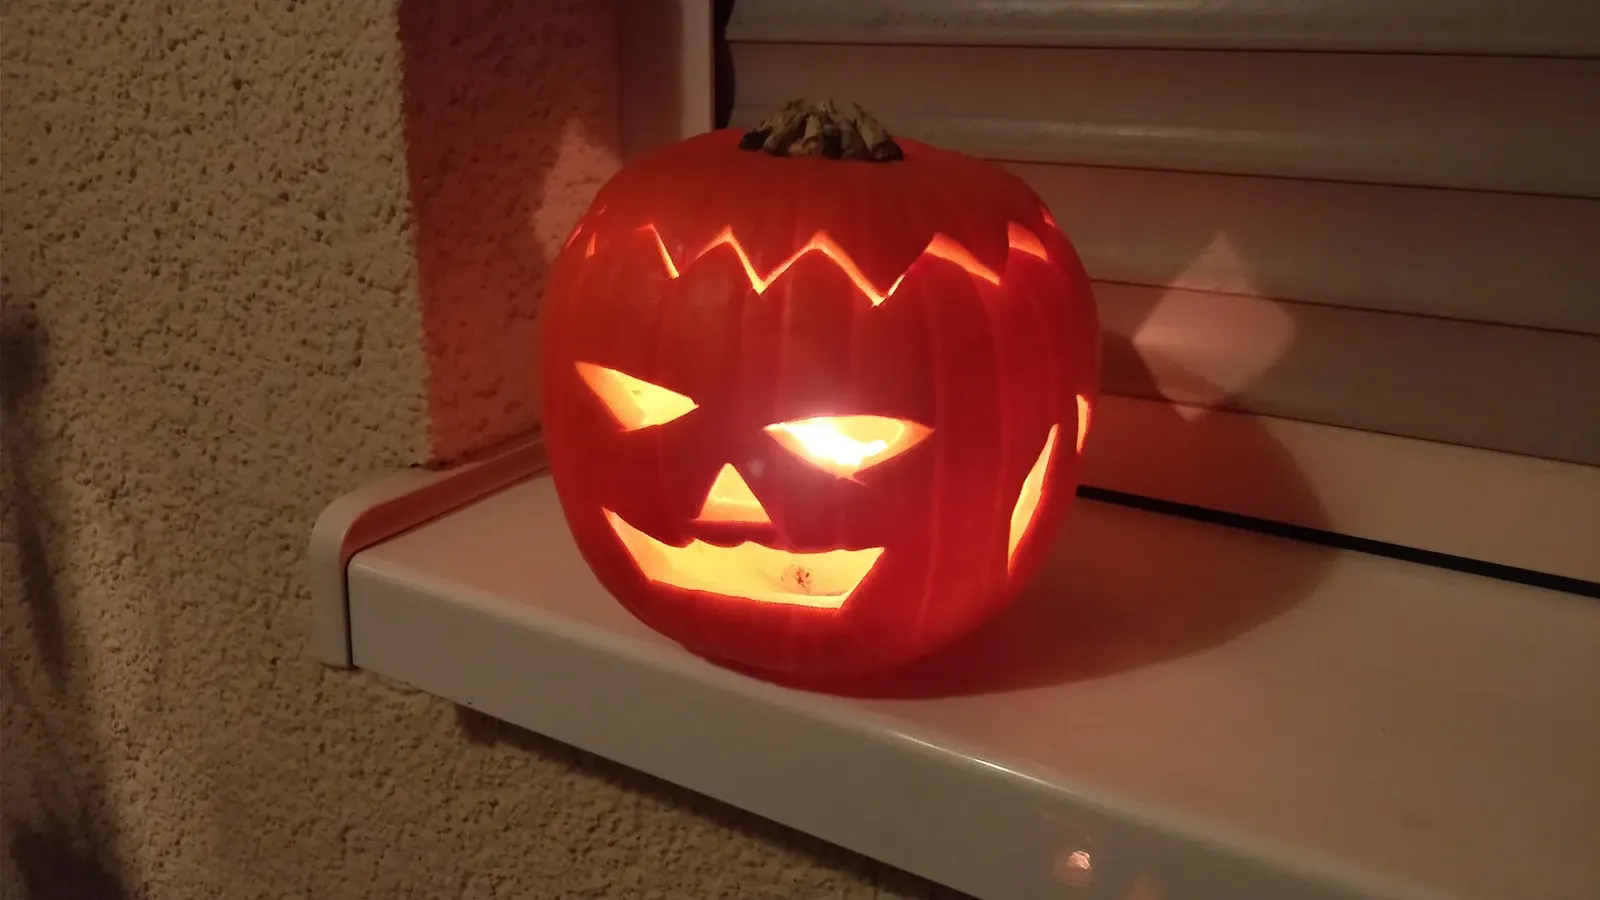
Short answer
Choose a firm pumpkin with a flat base and an intact stalk, cut an angled lid, scoop it out with a large spoon and scrape the wall thin where the face will go. Let the children draw and scoop – the adults do the cutting. Light it with an LED candle and carve no more than two or three days before Halloween, and the lantern will last all weekend.
What you need
- A carving pumpkin with a flat base and an intact stalk
- Washable felt-tip pen
- Small sharp knife or pumpkin saw (for adults)
- Large metal spoon or ice-cream scoop
- Bowl for seeds and strings
- Newspaper or an old tablecloth
- A little petroleum jelly
- LED candles
Step by step
-
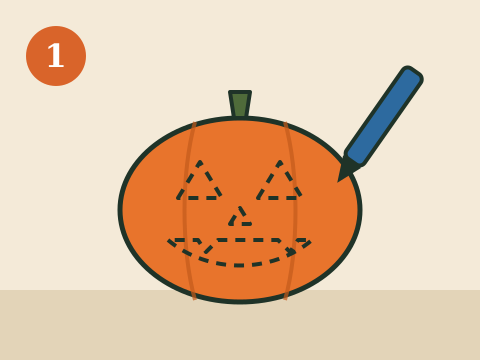
1. Let your child draw the face directly on the pumpkin with a felt-tip pen. Large, simple shapes – triangles and straight mouths – are the easiest to cut out.
-
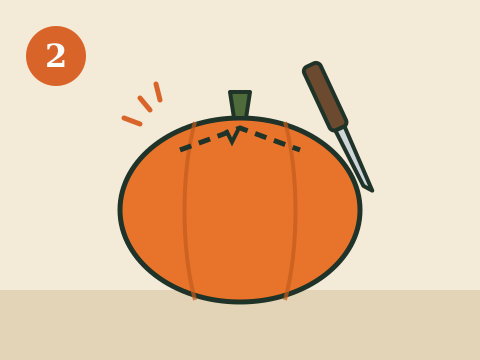
2. The adult cuts a lid around the stalk, angling the knife inwards so that the lid does not fall in. Cut a small notch so that it is easy to put back the right way round.
-
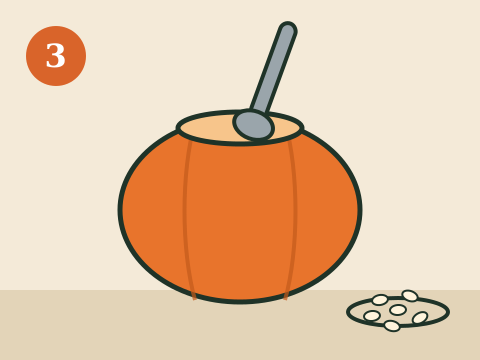
3. Scoop out the seeds and strings with a large spoon. Then scrape the wall thin, about 2–3 centimetres, where the face will go. Save the seeds in a bowl.
-
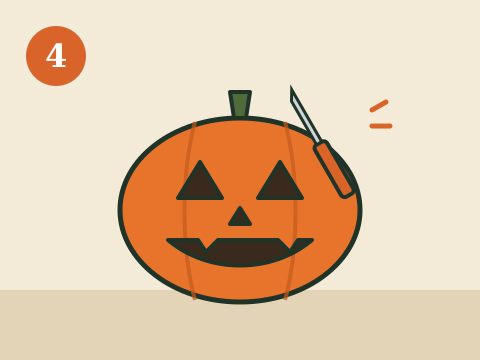
4. The adult cuts out the face with small sawing movements. Start with the smallest details in the middle and work outwards, and push the pieces out from the inside.
-
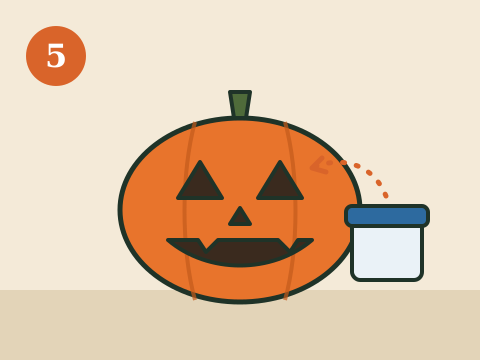
5. Wipe the cut surfaces and coat them with a thin layer of petroleum jelly. It slows down drying out and mould, so the lantern lasts longer.
-
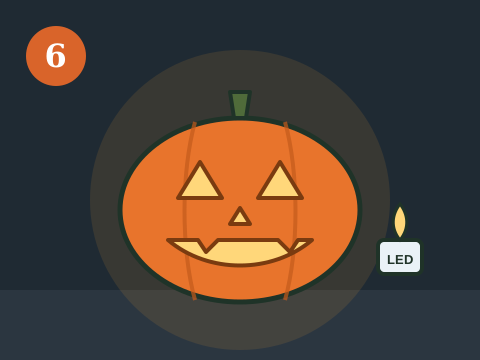
6. Place an LED candle inside the pumpkin, put the lid on and turn off the light. Put the lantern somewhere cool by the door or in the window.
Carving a pumpkin is the cosiest Halloween craft – and the one children remember. It is messy, it smells of autumn and the result glows by the door all weekend. It is also one of the few crafts where the division of labour has to be clear: the children draw and scoop, the adults cut. That way it is fun for everyone and nobody cuts themselves.
The jack-o'-lantern has a long history. In Ireland, lanterns were originally made from hollowed-out turnips for the festival of Samhain at the end of October. When Irish emigrants came to North America, they switched to pumpkins, which are bigger and easier to carve. If you want to know more about how Halloween came to Sweden and how children go door to door for sweets, read our guide Halloween with kids.
Choose the right pumpkin
A good carving pumpkin does half the job. In the supermarket in October they usually stand in large crates by the entrance, labelled as Halloween pumpkins or carving pumpkins.
- Flat base – the lantern should stand steadily without rolling.
- Intact, green stalk – a dry or broken stalk often means the pumpkin is old.
- Firm skin with no soft spots – press lightly all around the pumpkin. Soft areas rot first.
- The right size – for small children, a pumpkin of 3–5 kilos is about right. A giant pumpkin is hard to scoop out and heavy to carry.
Let the children choose their own pumpkin in the shop. That makes it their lantern right from the start. Why not visit a farm with pumpkin picking – it becomes a little family outing of its own on an autumn Saturday.
When should you carve?
A carved pumpkin lasts about five days to a week, but it starts to sag sooner if it stands somewhere warm indoors. So carve it two or three days before Halloween. Halloween 2026 is Saturday 31 October, so Wednesday or Thursday during the autumn break is perfect. Whole and uncarved, the pumpkin keeps for several weeks – buy it early and keep it somewhere cool until carving day.
Who does what – children and adults
Pumpkin skin is hard, and a knife that gets stuck and then suddenly gives way is the most common way to cut yourself. That is why we suggest this division:
- Ages 3–6: draw the face, scoop out with hands and spoon, sort seeds from strings. It is the most fun part – let them get messy.
- Ages 7–10: can also push out the cut pieces, scrape the wall thin and apply petroleum jelly. Some children of this age can use a pumpkin saw from a carving kit (they are blunt and saw rather than cut) with an adult beside them.
- Age 11 and up: can carve on their own with a small knife if they want to, with an adult nearby. Teach them to always cut away from their hand and never to hold the pumpkin where the knife comes out.
Put newspaper or an old tablecloth on the table and put aprons on the children. Pumpkin mess comes out in the wash, but it is nice to avoid it.
Patterns that are easy to get right
What looks simple on paper often turns out to be hard in the pumpkin. A few tips:
- Triangles and squares are the easiest – straight cuts are much easier than curves.
- Large openings let out more light and make the face clear even from a distance.
- Teeth in the mouth look fun but are the hardest to cut. Keep them big and few.
- Avoid thin bridges between two holes – they break easily.
If the children want something other than a face, a cat, a bat or a ghost works well too. Draw it on paper first, tape the pattern to the pumpkin and prick holes along the lines with a toothpick – then all you need to do is cut between the dots.
Make the lantern last longer
A jack-o'-lantern dries out and goes mouldy from the inside. You cannot stop it completely, but you can slow it down:
- Scoop it out thoroughly. All the strings and loose fibres on the inside are the first to go mouldy.
- Petroleum jelly on the cut surfaces. A thin layer keeps the moisture in and protects against mould.
- Cool but not frozen. Around 10–15 degrees is best. Put the lantern outside by the door when it is above zero, but bring it into a cold storeroom or porch if it drops below freezing – a pumpkin that freezes and then thaws collapses.
- Is it starting to sag? Put it in a bucket of cold water for a few hours. It soaks up water and firms up again.
LED candle or tealight?
A tealight gives the classic flickering glow, but the flame heats the lid and can set fire to decorations, leaves and children in costume who get too close. LED candles are the safer choice, especially for a lantern by the front door where children pass by in costumes. They come with a flickering glow that looks almost the same, and they last all evening.
If you still use tealights: place it on a small dish at the bottom, make a smoke hole in the lid where the flame reaches it, and never leave the lantern unattended. You will find more about safety around fire and children in cooking with children over a fire – the same thinking applies to the jack-o'-lantern.
Roast the pumpkin seeds
Do not throw away the seeds. Roasted pumpkin seeds are the tastiest snack of Halloween night, and the children can do most of it themselves. If you want something sweet as well, chocolate fondue over an open fire or s'mores is perfect after the carving.
- Rinse the seeds in a colander and pick off the strings.
- Dry them thoroughly in a tea towel – damp seeds turn chewy instead of crunchy.
- Toss them in a tablespoon of rapeseed oil and a pinch of salt. A little paprika, or cinnamon and sugar, also works well.
- Roast in the oven at 175 degrees for 15–20 minutes, stirring halfway through. Take them out when they are golden and starting to crackle.
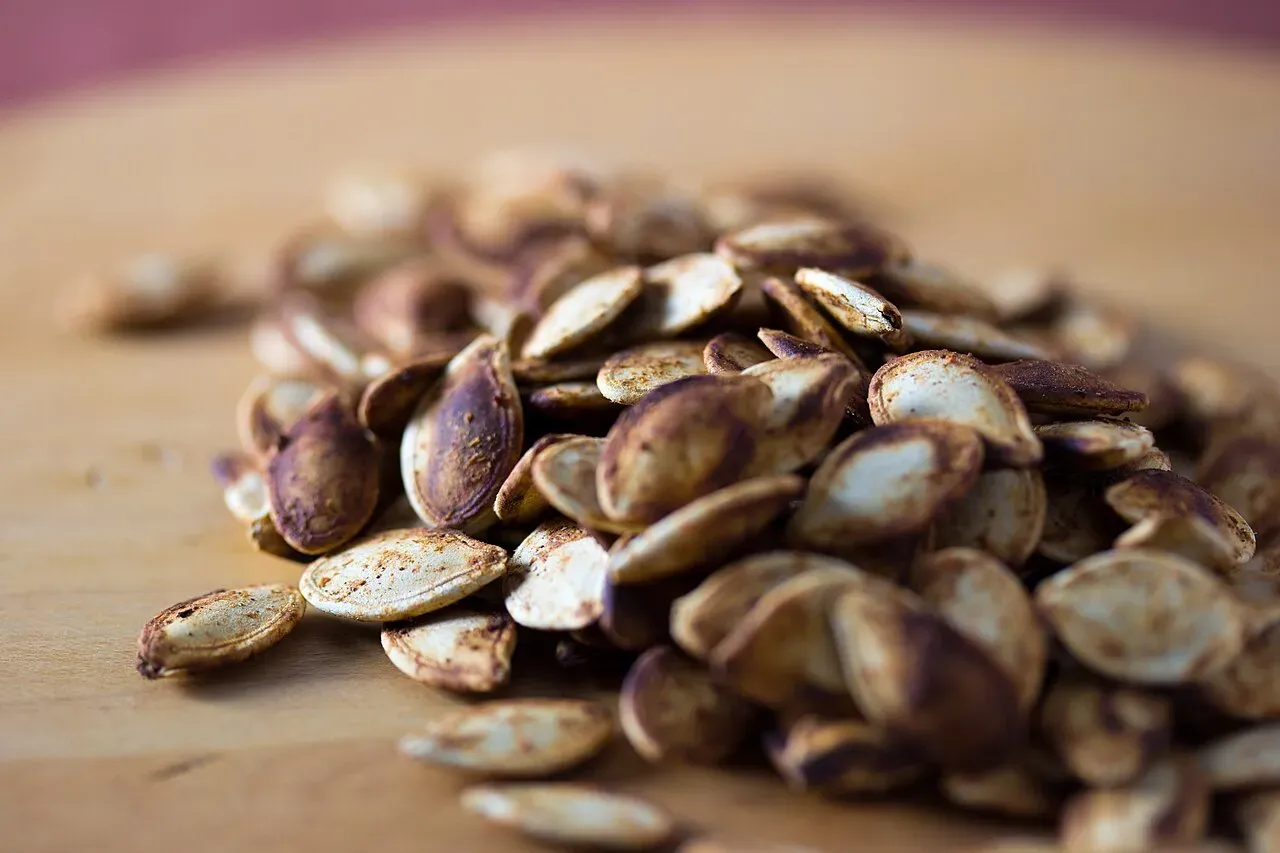
The seeds can also be roasted in a dry frying pan over medium heat, or in a cast-iron pan over the embers if you have a fire in the garden – the same technique as in cooking in the wild. Stir all the time – they burn quickly.
What do you do with the flesh?
Carving pumpkins are grown to be big and easy to carve, not for their flavour. The flesh is watery and mild, but works well in soup – try mixing it with a Hokkaido in a pumpkin soup over an open fire. Cook it with onion, stock and a little ginger and blend – or use it as the base of a creamy soup such as the broccoli and cheddar soup, with pumpkin instead of some of the broccoli. Whatever is left goes in the compost.
Pumpkins on a grand scale
If the children have caught the pumpkin bug, you can go further and see lots of them. Halloween at Liseberg has thousands of pumpkins, and many farms and gardens have pumpkin picking and pumpkin displays during October and the autumn break. And once the lantern is glowing by the door, it is time for the rest of the evening – we cover reflectors, costumes and going door to door for sweets in Halloween with kids.
Frequently asked questions
When should you carve your pumpkin for Halloween?
Two or three days before is about right. A carved pumpkin starts to soften after a few days indoors. For Halloween 2026, Saturday 31 October, Wednesday or Thursday during the autumn break works well.
How do you make a jack-o'-lantern last longer?
Scrape away all the strings on the inside, dry the cut surfaces and coat them with a little petroleum jelly. Keep the lantern somewhere cool – outside or in a cold storeroom – but not where it freezes, because then it rots when it thaws.
What knife should you use to carve a pumpkin?
A small, sharp knife with a narrow blade or a special pumpkin saw from a carving kit. Sawing movements are safer than pushing, and a sharp knife slips less than a blunt one. Children under ten or eleven should not do the cutting themselves.
Can you eat the pumpkin you carve?
Yes, but carving pumpkins are watery and have fairly little flavour. The flesh is best in soup. The seeds, on the other hand, are really tasty roasted in the oven or in a dry frying pan.
Is it dangerous to have a tealight in the pumpkin?
A pumpkin is moist and does not catch fire easily, but the flame can reach the lid, decorations and costumes passing by. LED candles are safer, especially where children run past. If you use tealights: take off the lid or make a smoke hole, and never leave the lantern unattended.