Short answer
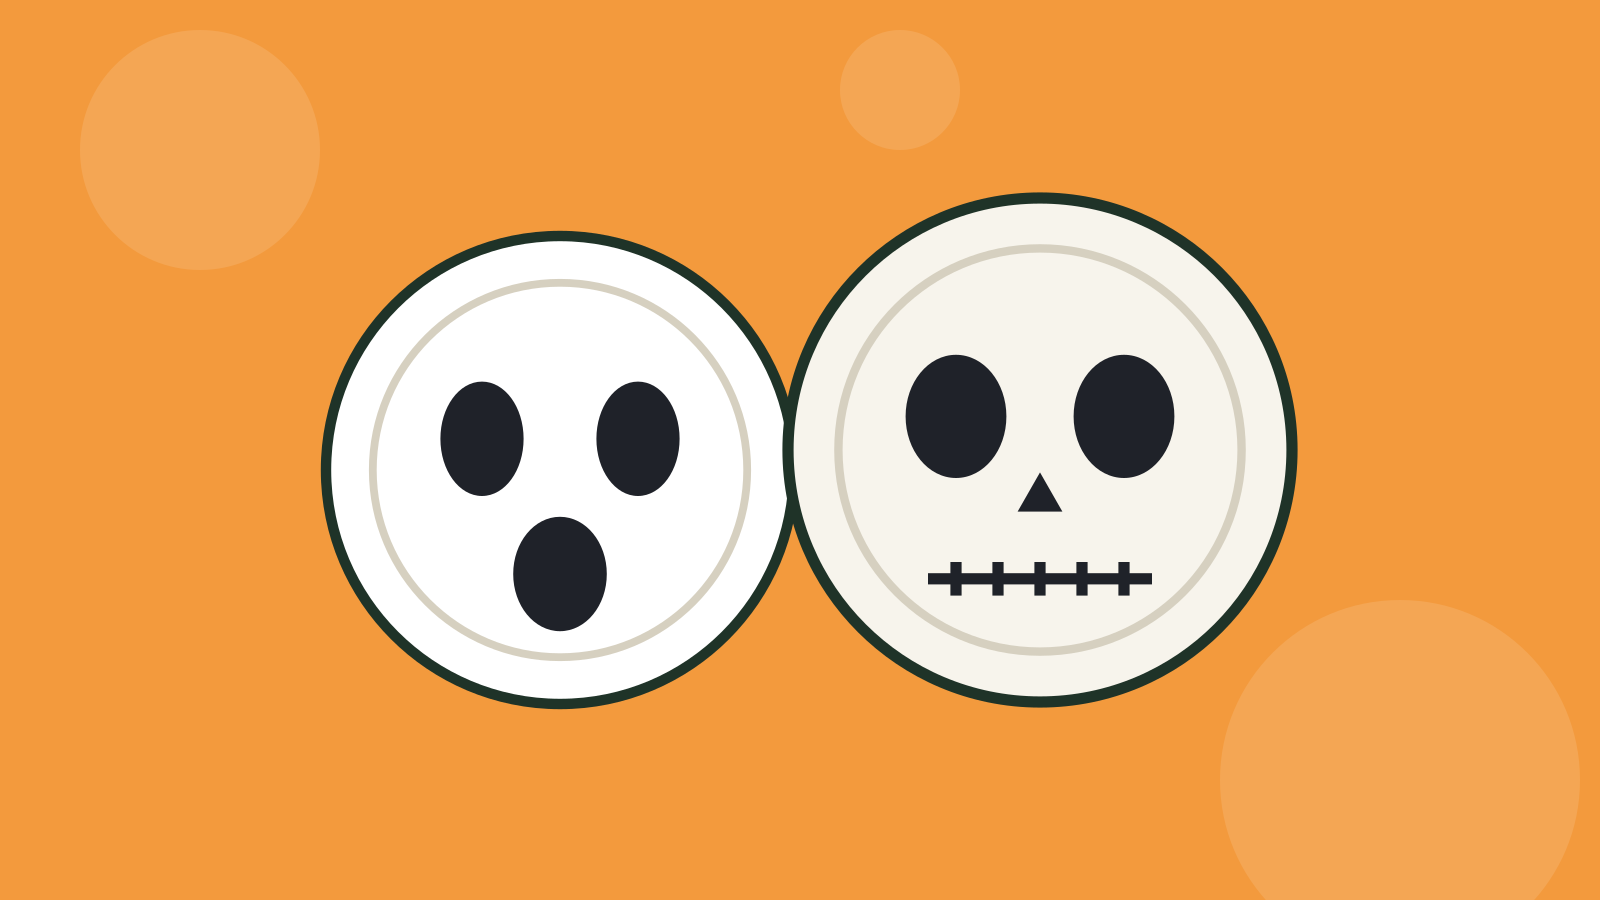
Hold a paper plate against your child's face and mark where the eyes are. Cut out large eye holes, paint the plate and draw a ghost, pumpkin or skeleton face. Attach an elastic band through two holes at the sides – or tape the mask to a lolly stick, so the youngest can hold it in front of their face. It takes half an hour plus drying time and works from age three.
What you need
- Plain white paper plates without a plastic coating
- Watercolours or acrylic paint and brushes
- Black felt-tip pen
- Scissors
- Hole punch and tape
- Elastic band, about 35 cm per mask, or lolly sticks
- Pencil
Step by step
-
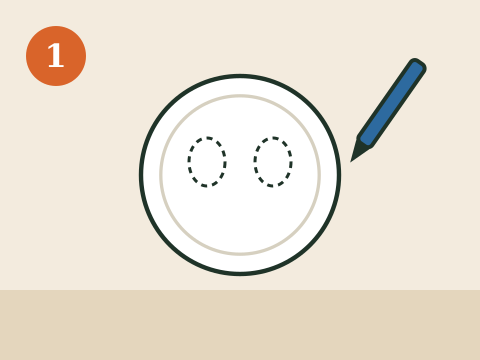
1. Hold the plate against your child's face and feel where the eyes are. Mark them with a pencil and draw two large eye holes.
-
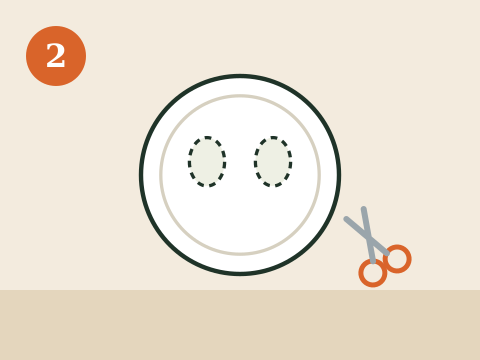
2. An adult pokes a hole with the scissors in the middle of each eye and cuts out the eye holes. Make them too big rather than too small.
-
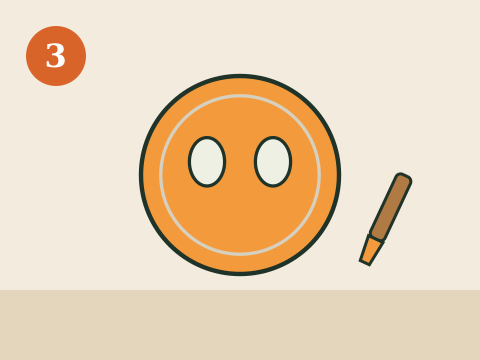
3. Paint the plate – white for a ghost or skeleton, orange for a pumpkin – and let it dry.
-
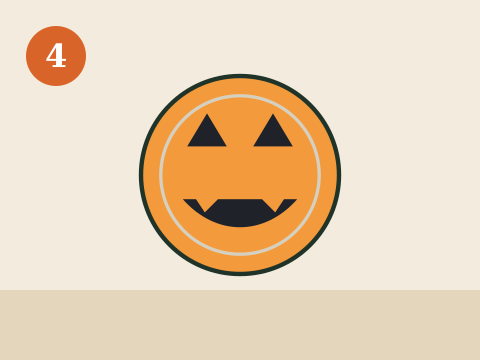
4. Draw the face with a black felt-tip pen: triangular eyes and a jagged mouth for the pumpkin, big black eyes for the ghost, teeth and nostrils for the skeleton.
-
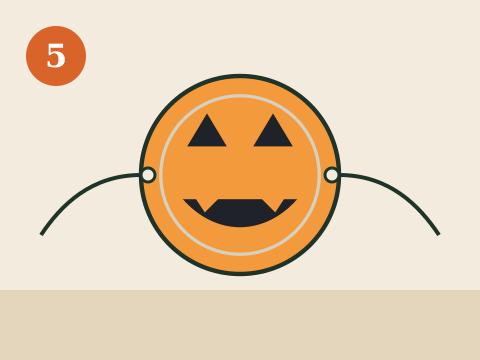
5. Make a hole on each side with the hole punch, reinforce with tape and tie on the elastic band. For the youngest: tape a lolly stick to the edge instead.
-
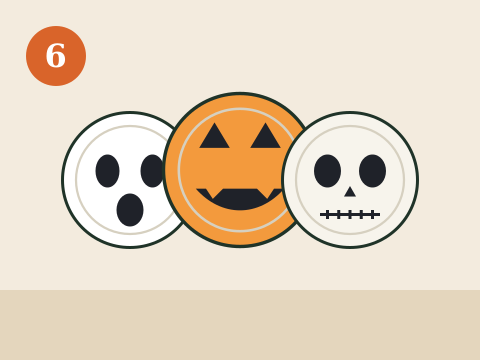
6. Try on the mask and check that your child can see well in every direction. Ready for the spooky night!
Paper plate masks are one of the oldest crafts there is – and still one of the best. A paper plate already has the right shape and size for a child's face, it is easy to cut and paint, and after half an hour the child has their own mask for Halloween night. No two masks are alike.
The most important thing is that the mask is made to fit the child's own face. Mark the eyes by holding the plate against the face, and cut the eye holes large. A mask that blocks the view is both annoying and unsafe, especially in the dark.
Who does what – children and adults
- Ages 3–5: paint the plate and draw the face. An adult cuts the eye holes and attaches the stick or the band.
- Ages 6–9: draw the eyes to fit their own face, cut them out themselves with a little help to get started and choose their own details.
- Age 10 and up: can make more advanced masks with cut-out teeth, card ears and their own patterns.
Three faces without a template
- Ghost: paint the plate white (or leave it white) and draw two large, oval black eyes and a round mouth – like a surprised “oooh”.
- Pumpkin: paint the plate orange. Draw triangular eyes, a small triangular nose and a wide mouth with two or three square teeth. A green piece of paper at the top becomes the stalk.
- Skeleton: leave the plate white. Draw big black eye sockets around the eye holes, a small upside-down heart for the nose and a straight line for the mouth with short cross lines as teeth.
If the children want something else, a black cat (pointed ears from card), a green monster (a single big eye in the middle) or a bat work just as well – the wings from the bat garland become ears.
A mask on a stick – for the youngest
Small children often do not like having something fixed over their face. Instead, tape a lolly stick or a straight stick from the forest to the bottom edge of the mask. Then the child can hold the mask in front of their face when they want to be scary – and lower it when they want to see properly or be themselves again. It is also the safest mask for the round of door-to-door sweets.
Safety with masks
- Large eye holes. The child should be able to see both forwards and to the sides.
- Nose and mouth free. Cut away the bottom edge rather than covering the mouth completely. The mask should be easy to breathe in.
- Take the mask off in traffic. Out in the dark, the mask should come off when crossing streets and on stairs. Children are most visible with reflectors – more about that in Halloween with kids.
- Not too close to flames. Paper burns. Keep masks away from real candles and pumpkins with tealights.
Parties and spooky evenings
Paper plate masks are a perfect craft at a Halloween party: put out plates, paints and felt-tip pens on the table, and the guests have something to do while you set out the Halloween food. Masks to be used the same day are coloured with felt-tip pens instead of paint, so you do not have to wait for them to dry.
Put the finished masks up on the wall as decoration after the evening – next to the pine cone ghosts and the ghost lanterns they make a whole gallery of Halloween crafts.
Frequently asked questions
Which paper plates work best for masks?
Ordinary white paper plates without a plastic coating. They can be painted with watercolours and acrylic paint and are easy to cut. Plastic-coated plates repel the paint.
How big should the eye holes be?
Too big rather than too small – at least as big as the child's own eyes with a good margin around them. The mask should not block the view to the sides, especially outdoors in the dark.
Can you wear the mask when going door to door for sweets?
You can wear it, but take it off when crossing streets and on stairs. A mask on a stick is the handiest – the child holds it in front of their face when knocking and lowers it when walking.
What paint should you use?
Watercolours or acrylic paint. Acrylic paint covers best and dries in half an hour. Let the mask dry completely before the child holds it to their face.
How do you attach the mask?
Make a hole on each side with a hole punch and tie on an elastic band that goes around the back of the head. Reinforce the holes with a piece of tape so they do not tear. For the youngest: tape a lolly stick to one edge and make a mask on a stick.